Hi everyone!
The FilmLab Kickstarter campaign is in its final stretch: only 36 hours to go as I write this! If you’re planning to use FilmLab, but haven’t yet backed the project, I encourage you to do so today. You’ll get early beta access several months before FilmLab is released to the public, and you’ll also save some money on FilmLab Pro when it’s released. Go check it out!
I wanted to give everybody a little progress report on current FilmLab image quality, and show some full-size images and side-by side comparisons with dedicated scanners. So I scanned in a bunch of test images last night, using an iPhone 7 Plus running the current alpha build of FilmLab.
Before we get to the images, a couple of disclaimers. First, this isn’t a competition (and if it was, FilmLab would lose). Pro scanners are awesome tools, and FilmLab complements them rather than replacing them. The reason I’m showing side-by-side images is to provide a frame of reference for the FilmLab scans. You can see the difference in resolution between a pro scanner and a smartphone camera, also see where FilmLab’s color conversion code is working well and where it needs to improve.
Second, FilmLab is very much still a work in progress. There’s lots more work to be done to increase sharpness, reduce noise, improve color balance, and offer manual controls over exposure and contrast.
OK, disclaimers done – let’s take a look! (You can click any image below to download the original, full-resolution version.)
Pro lab scans
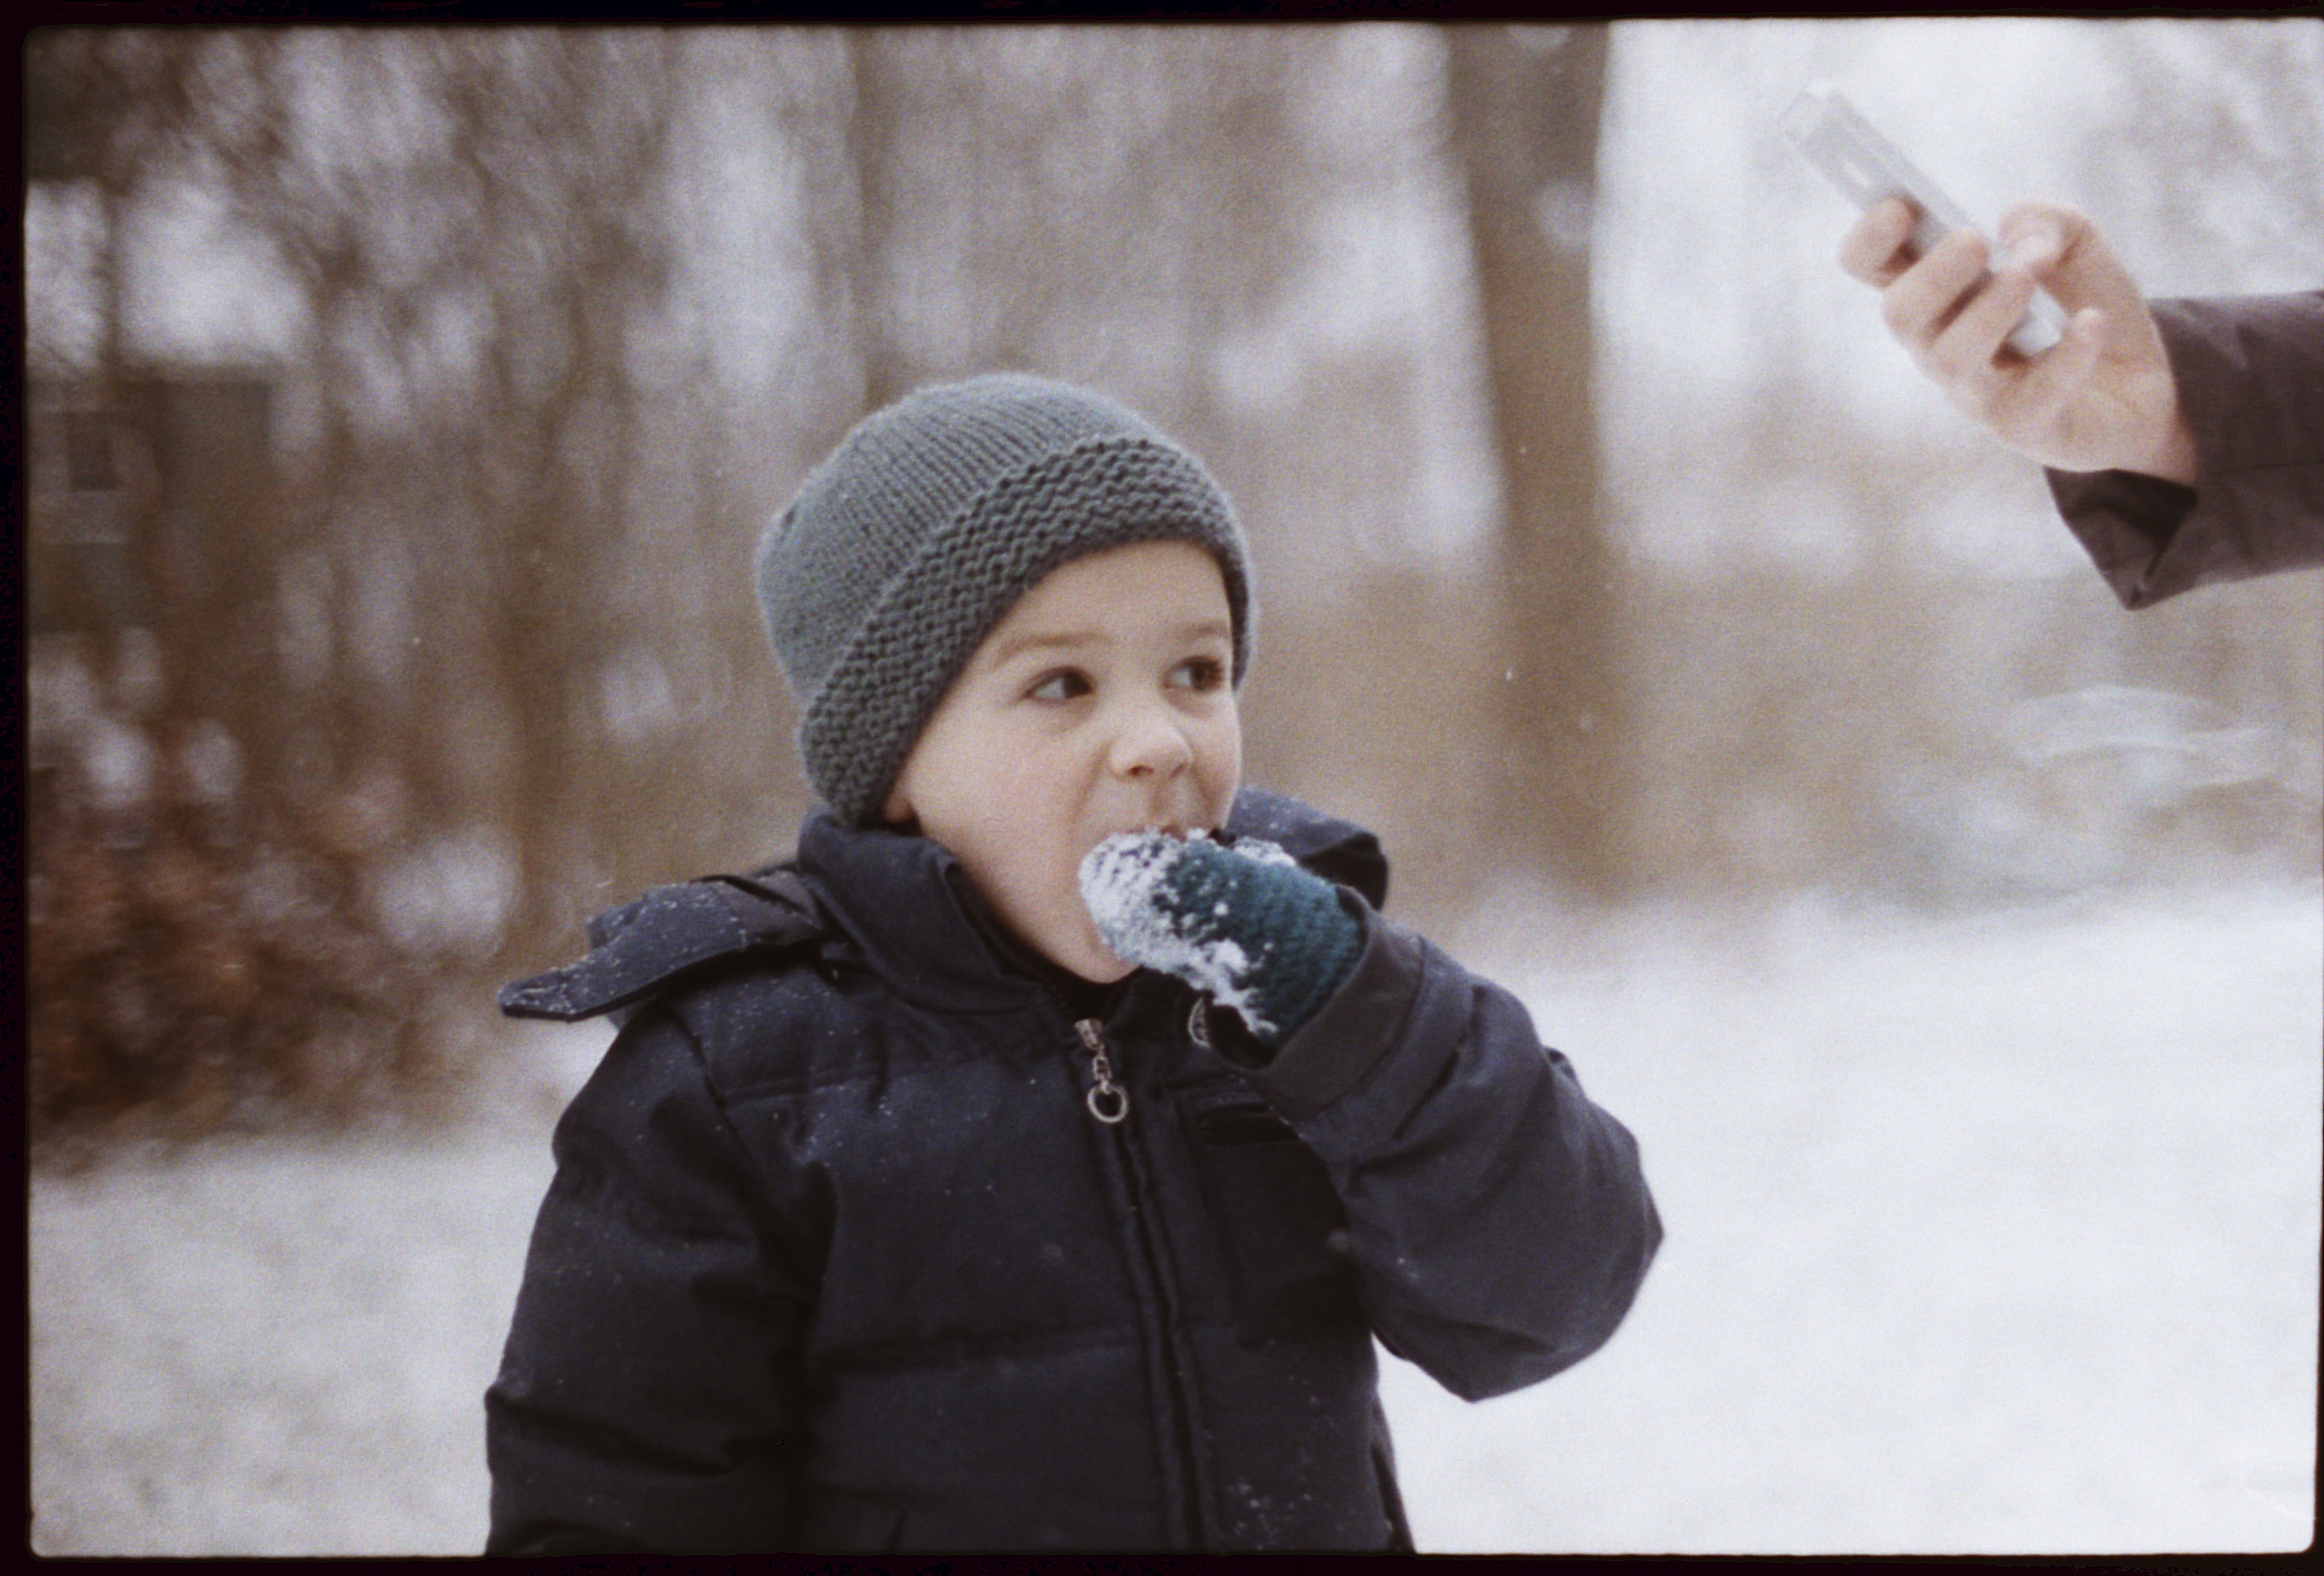
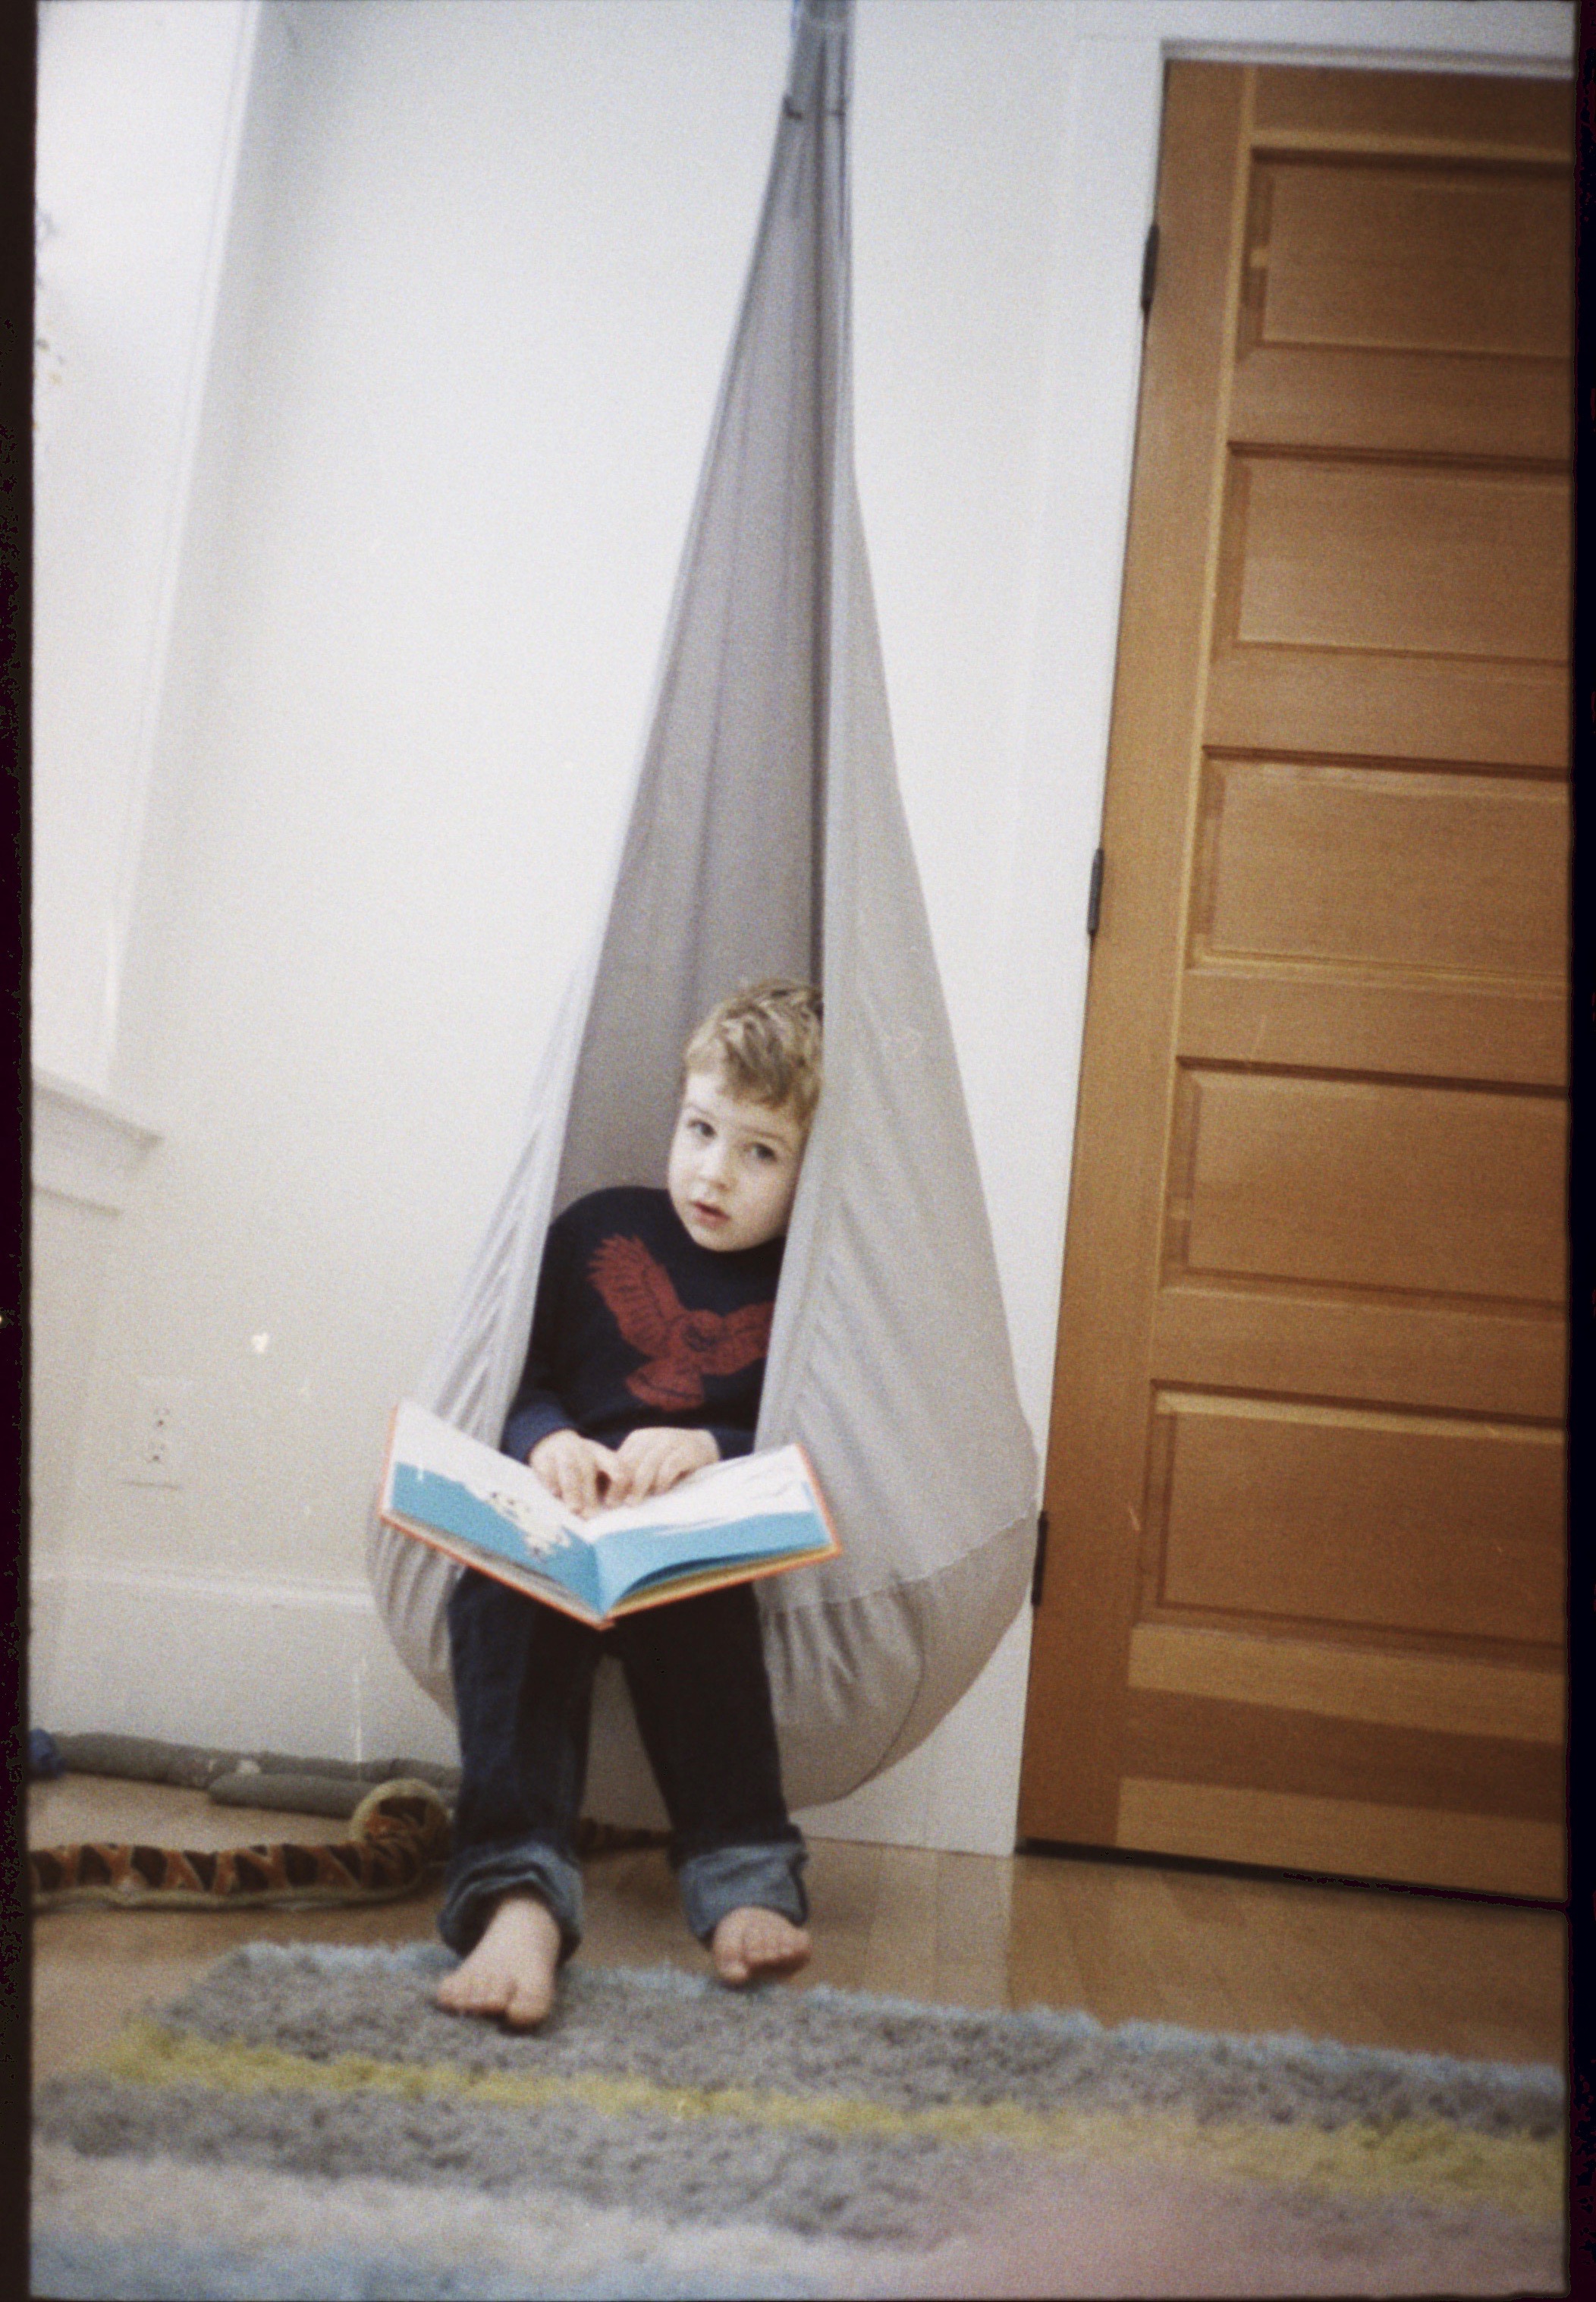
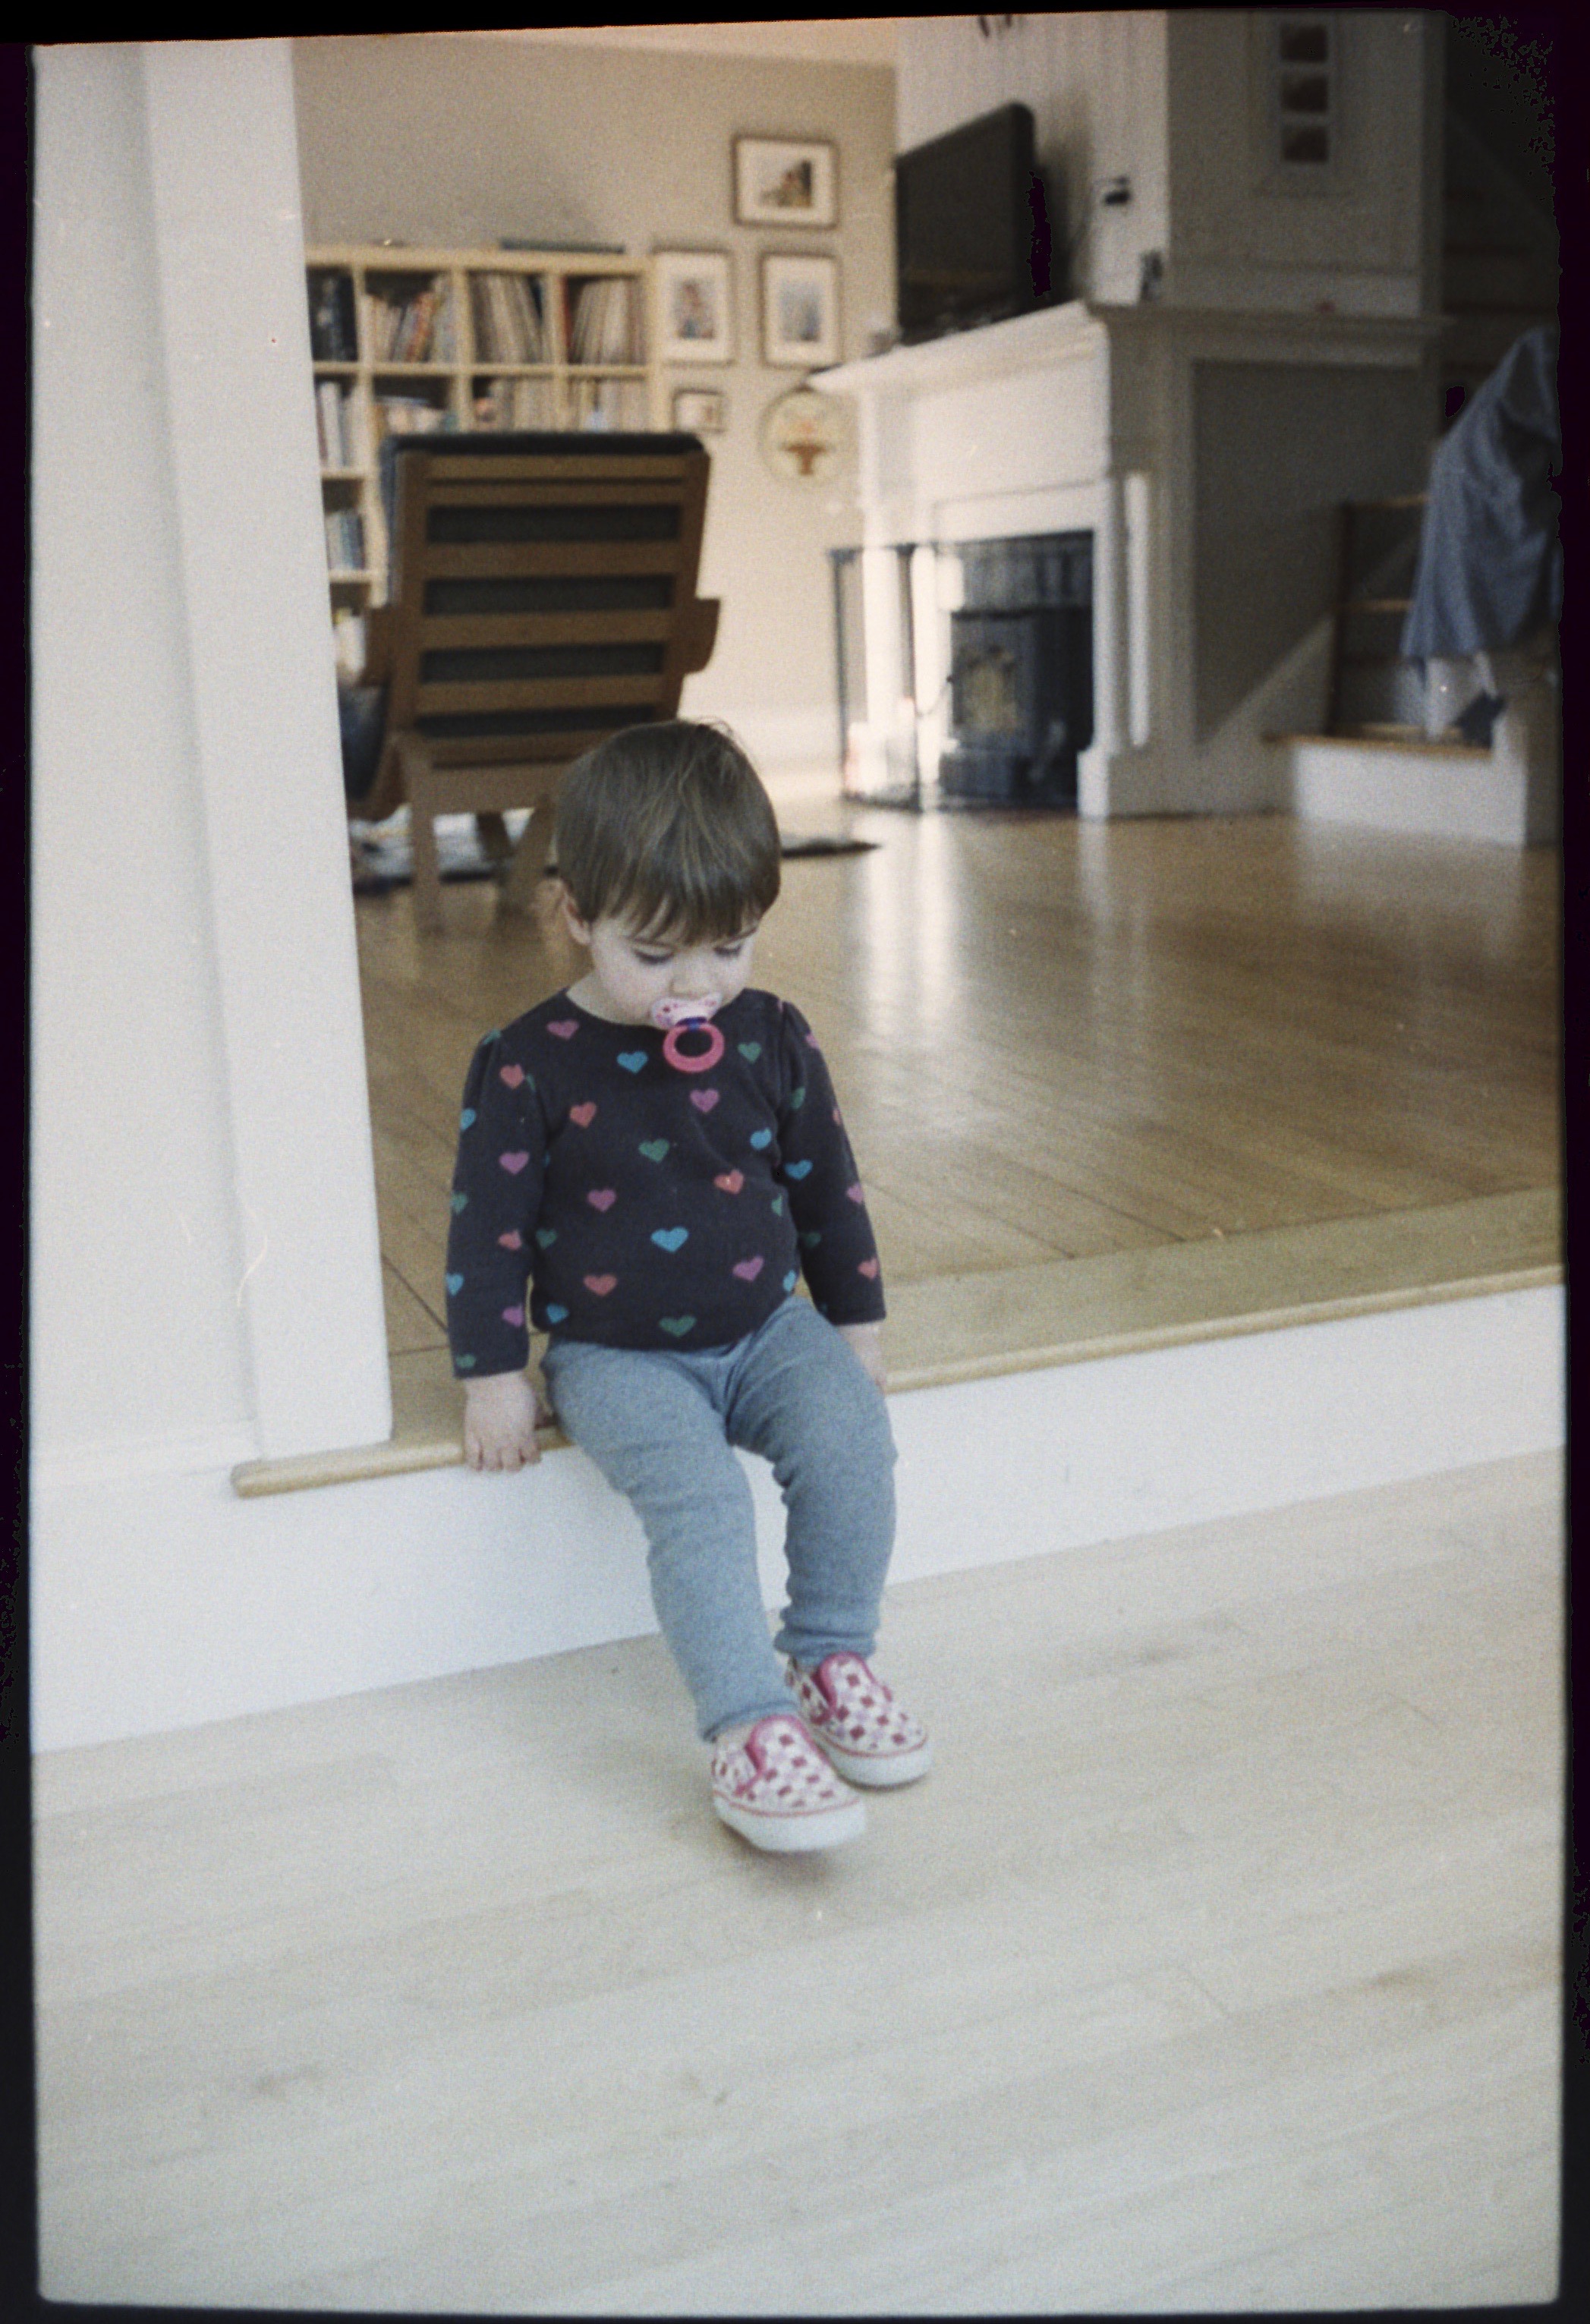
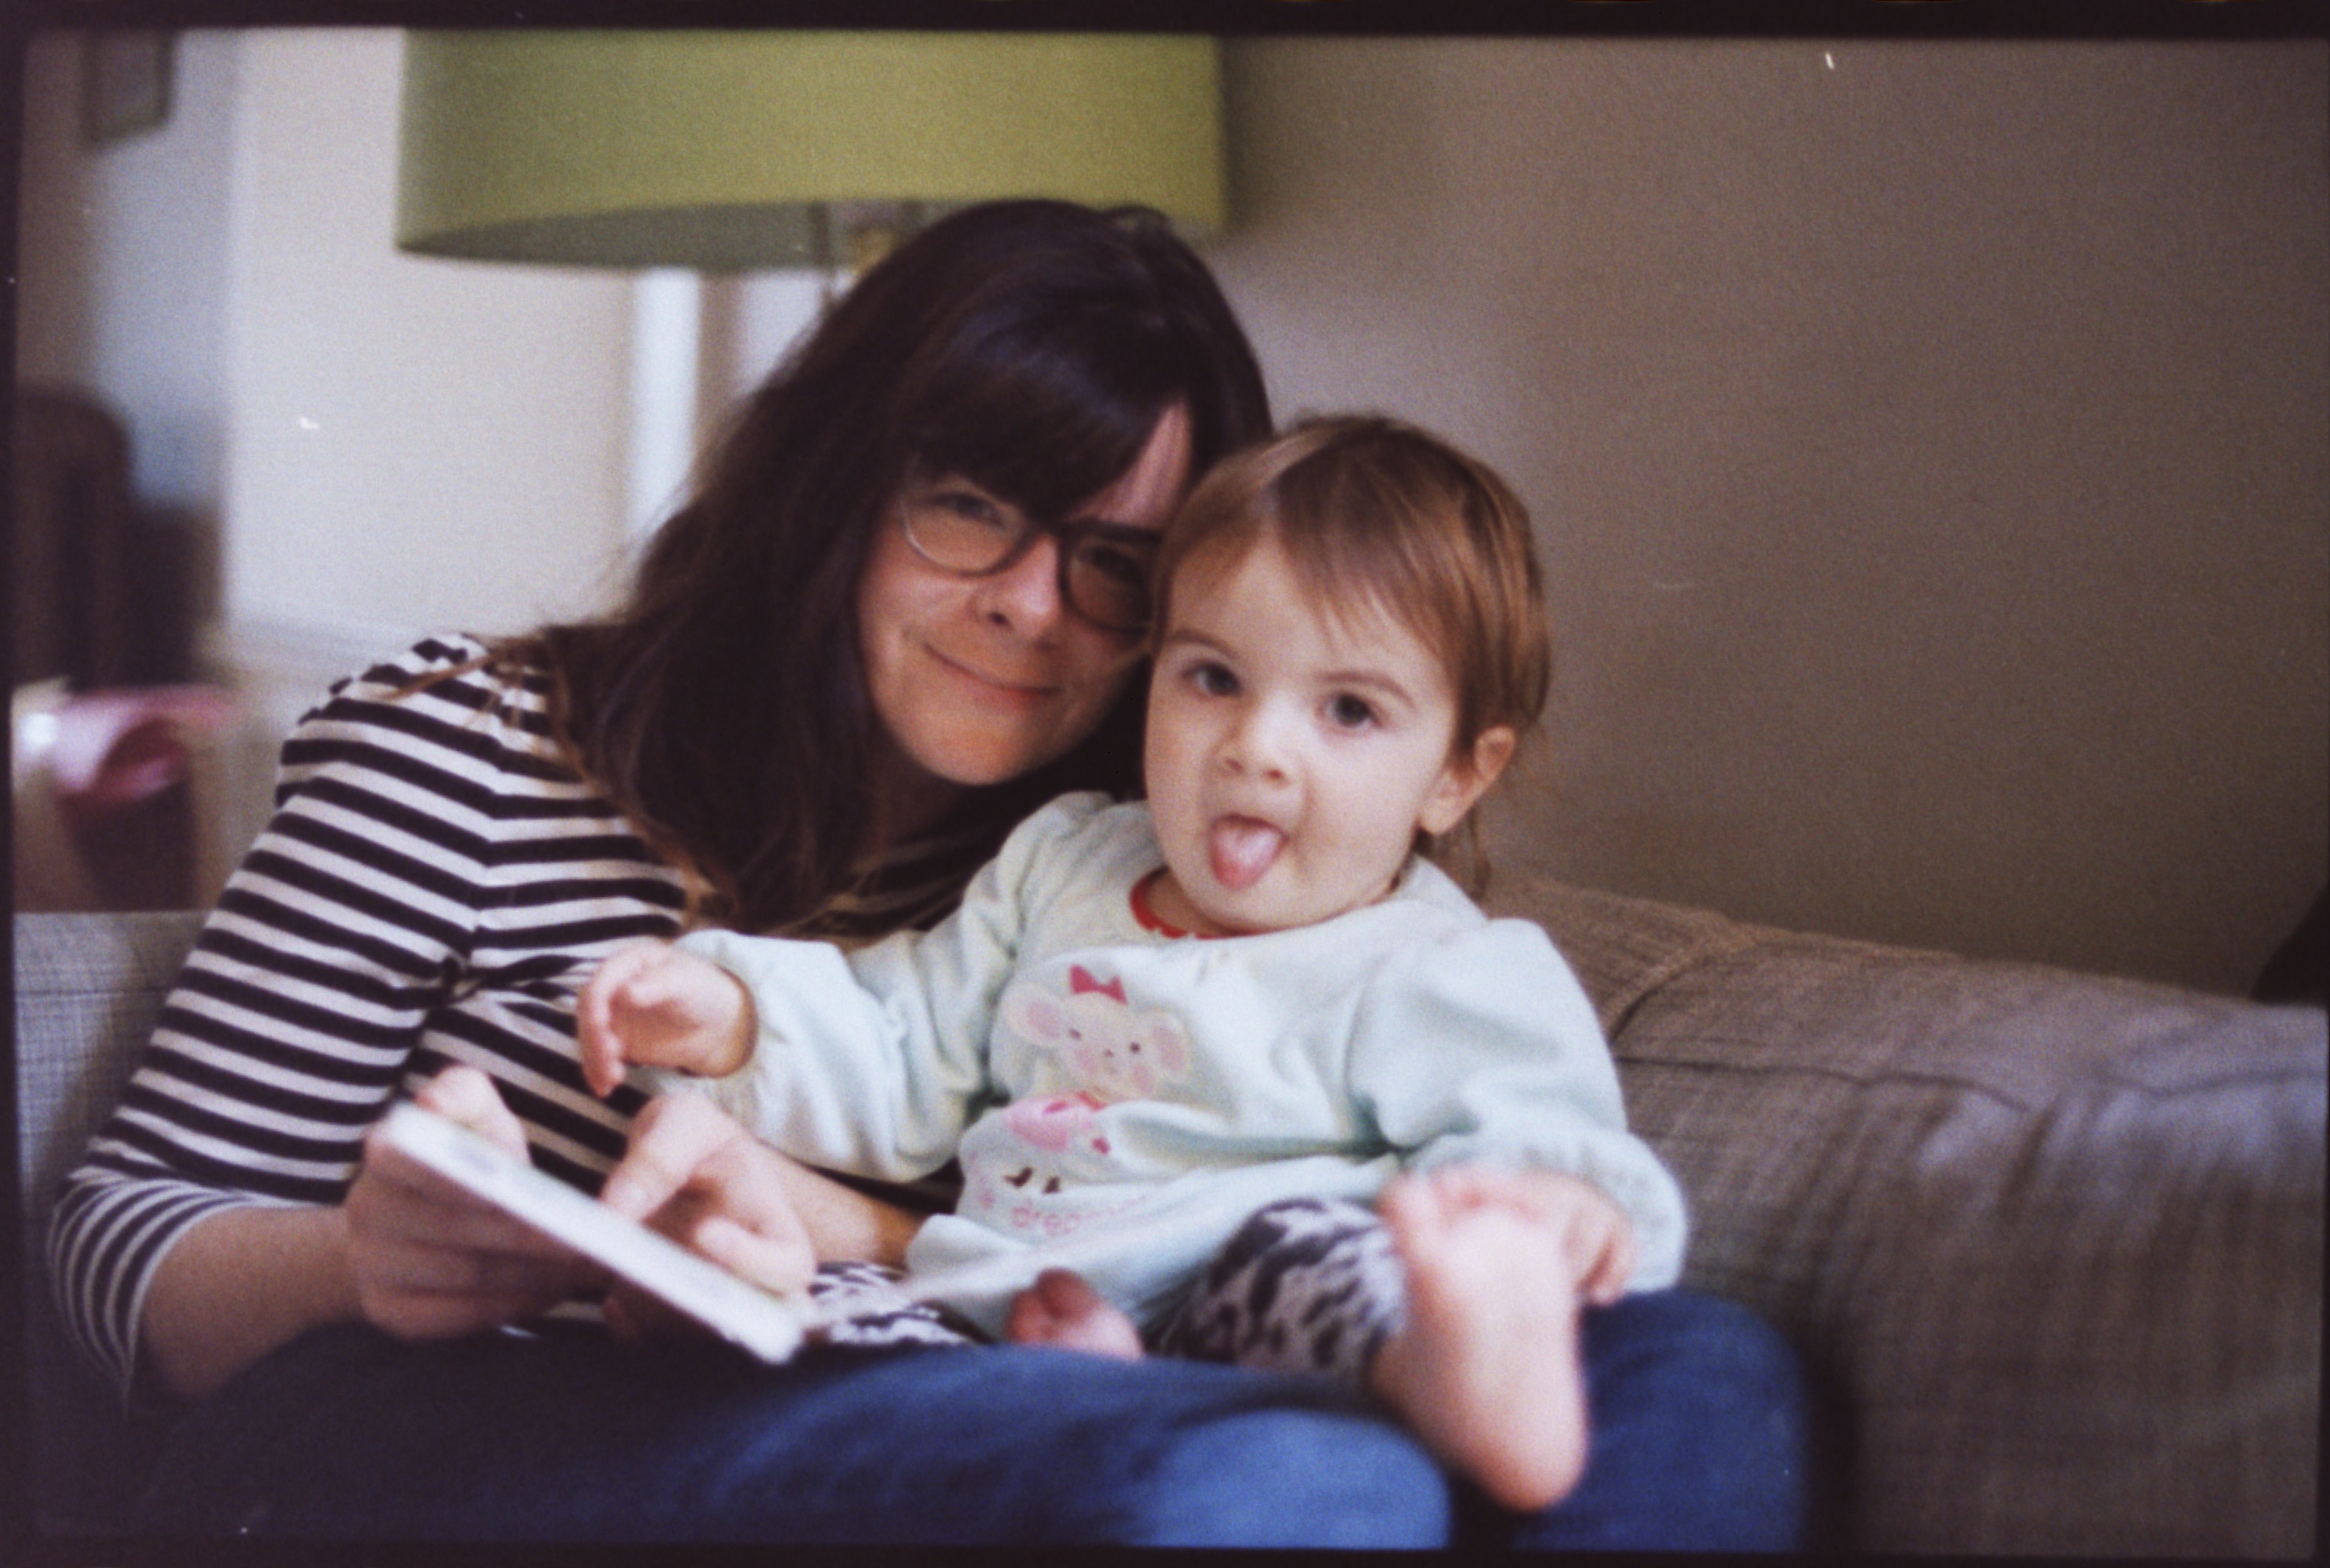 FilmLab capture
 Pro lab scan (Noritsu)
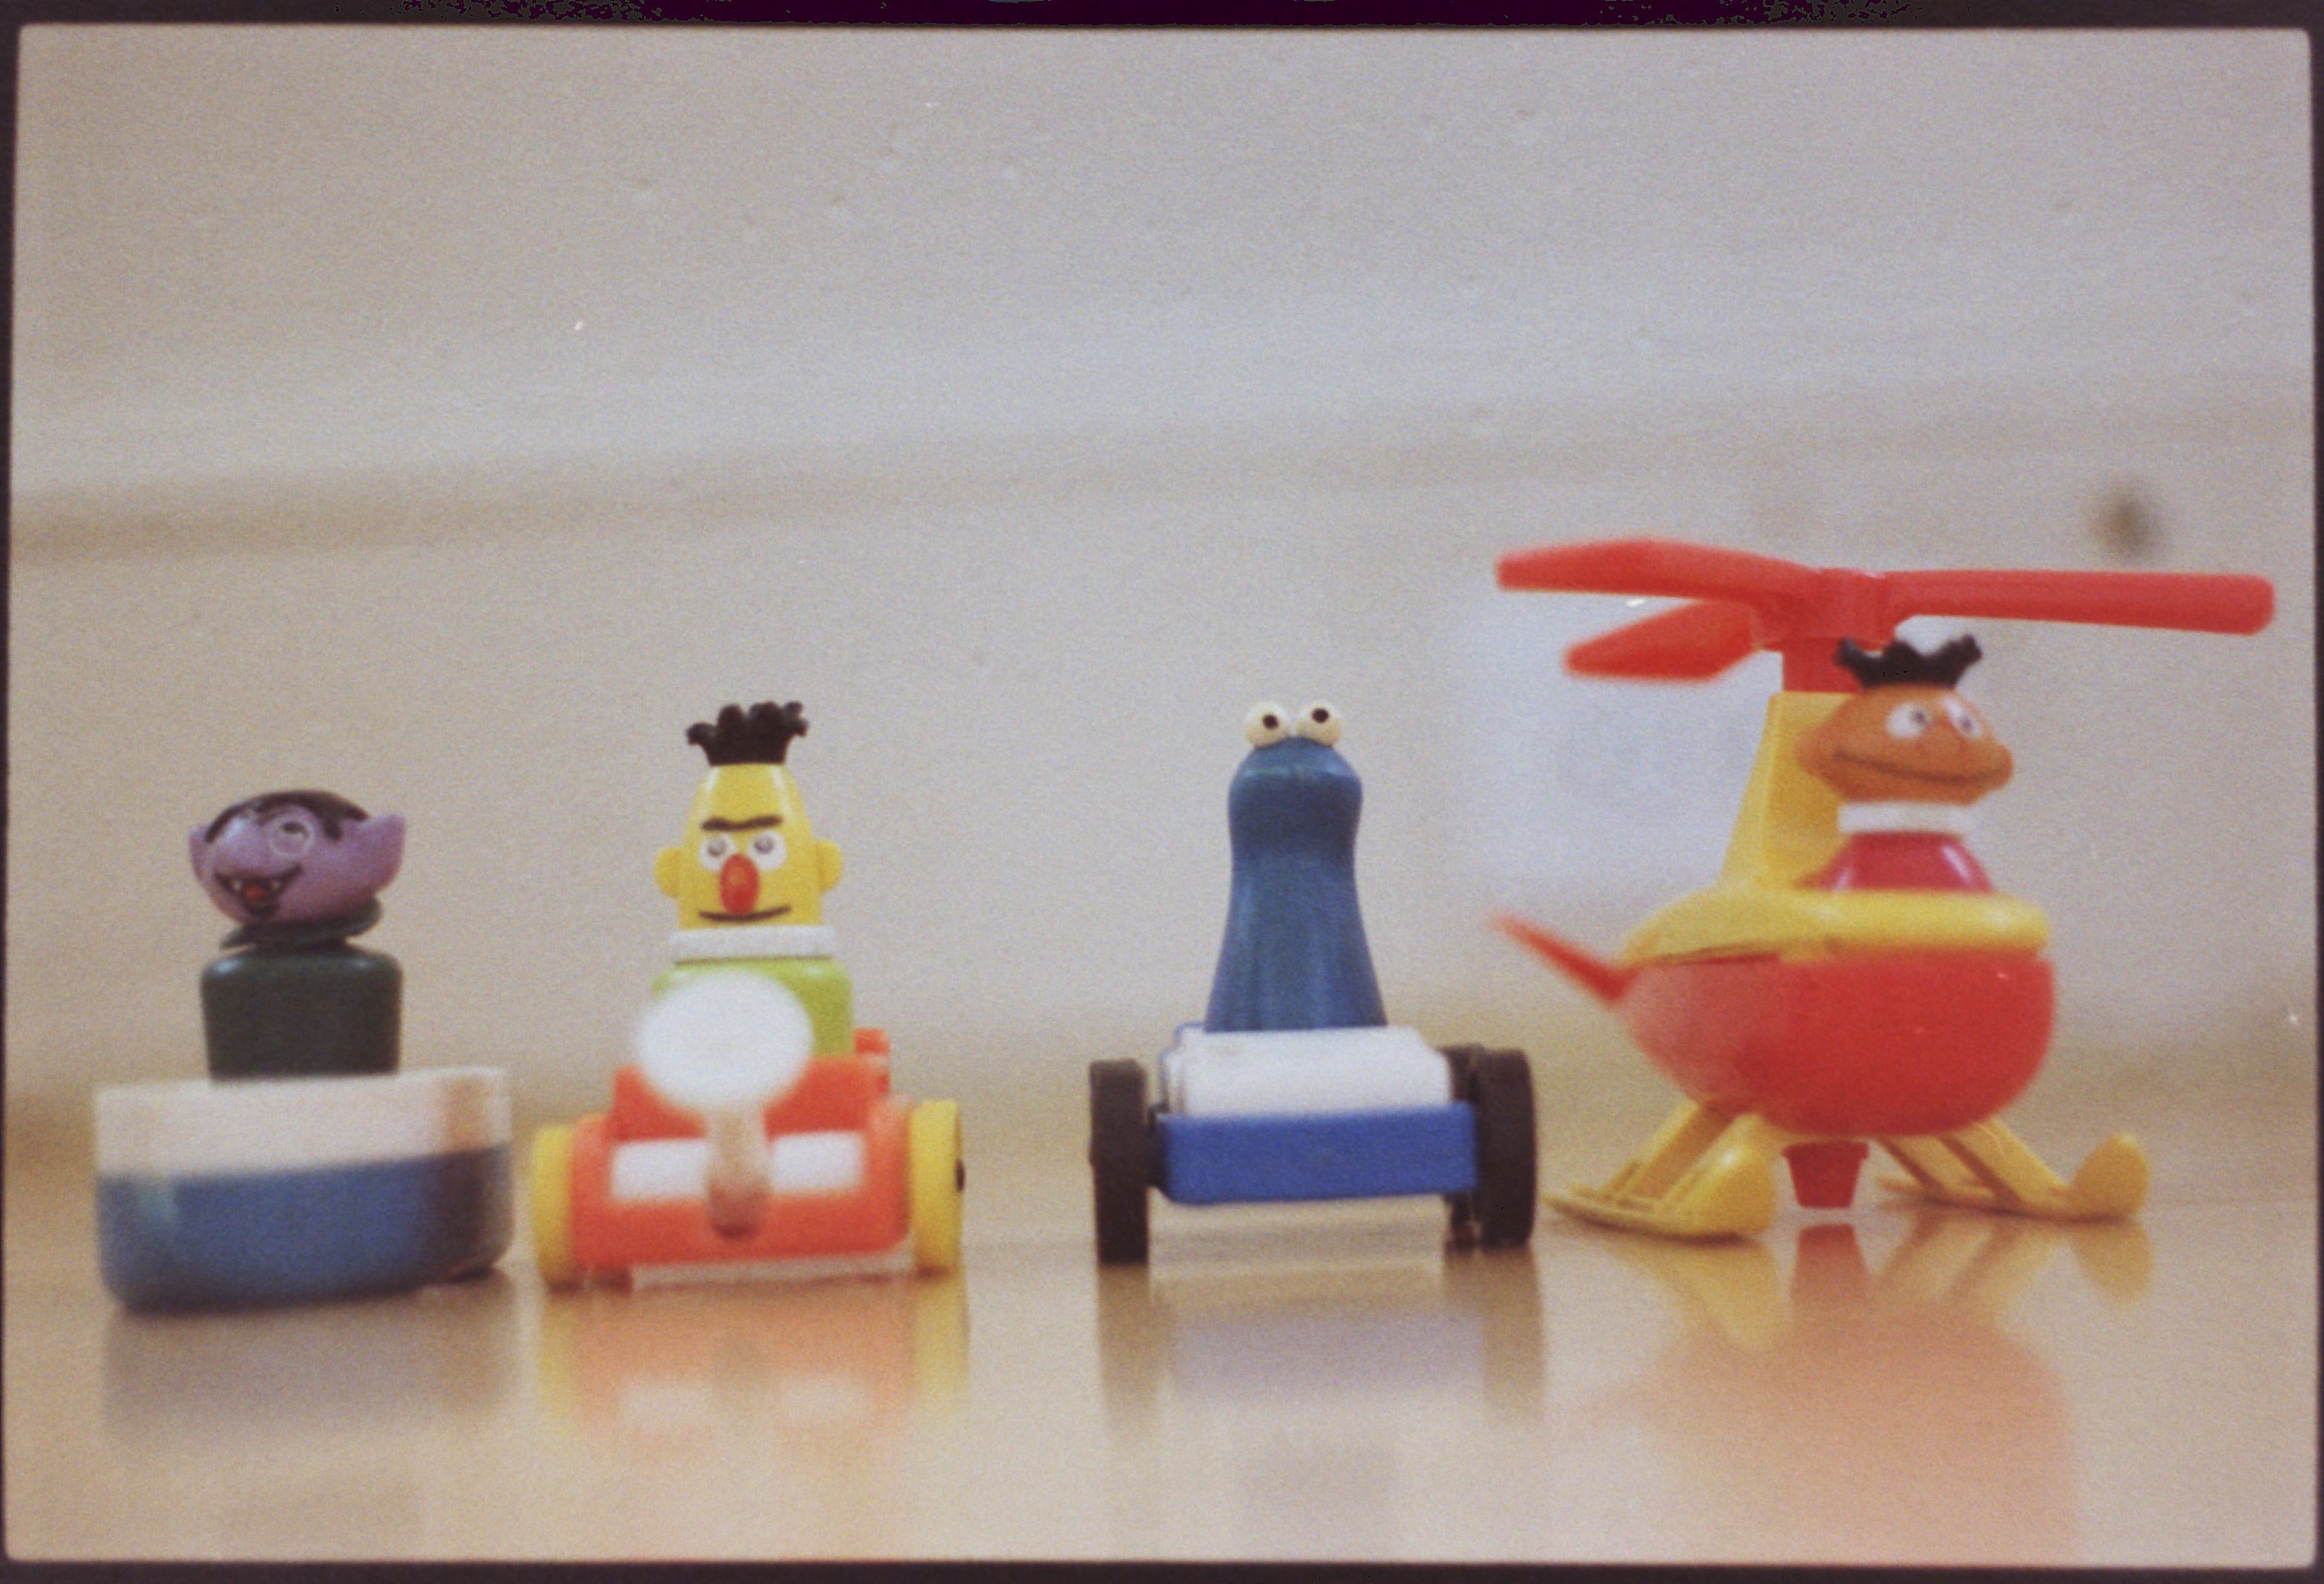
 FilmLab capture
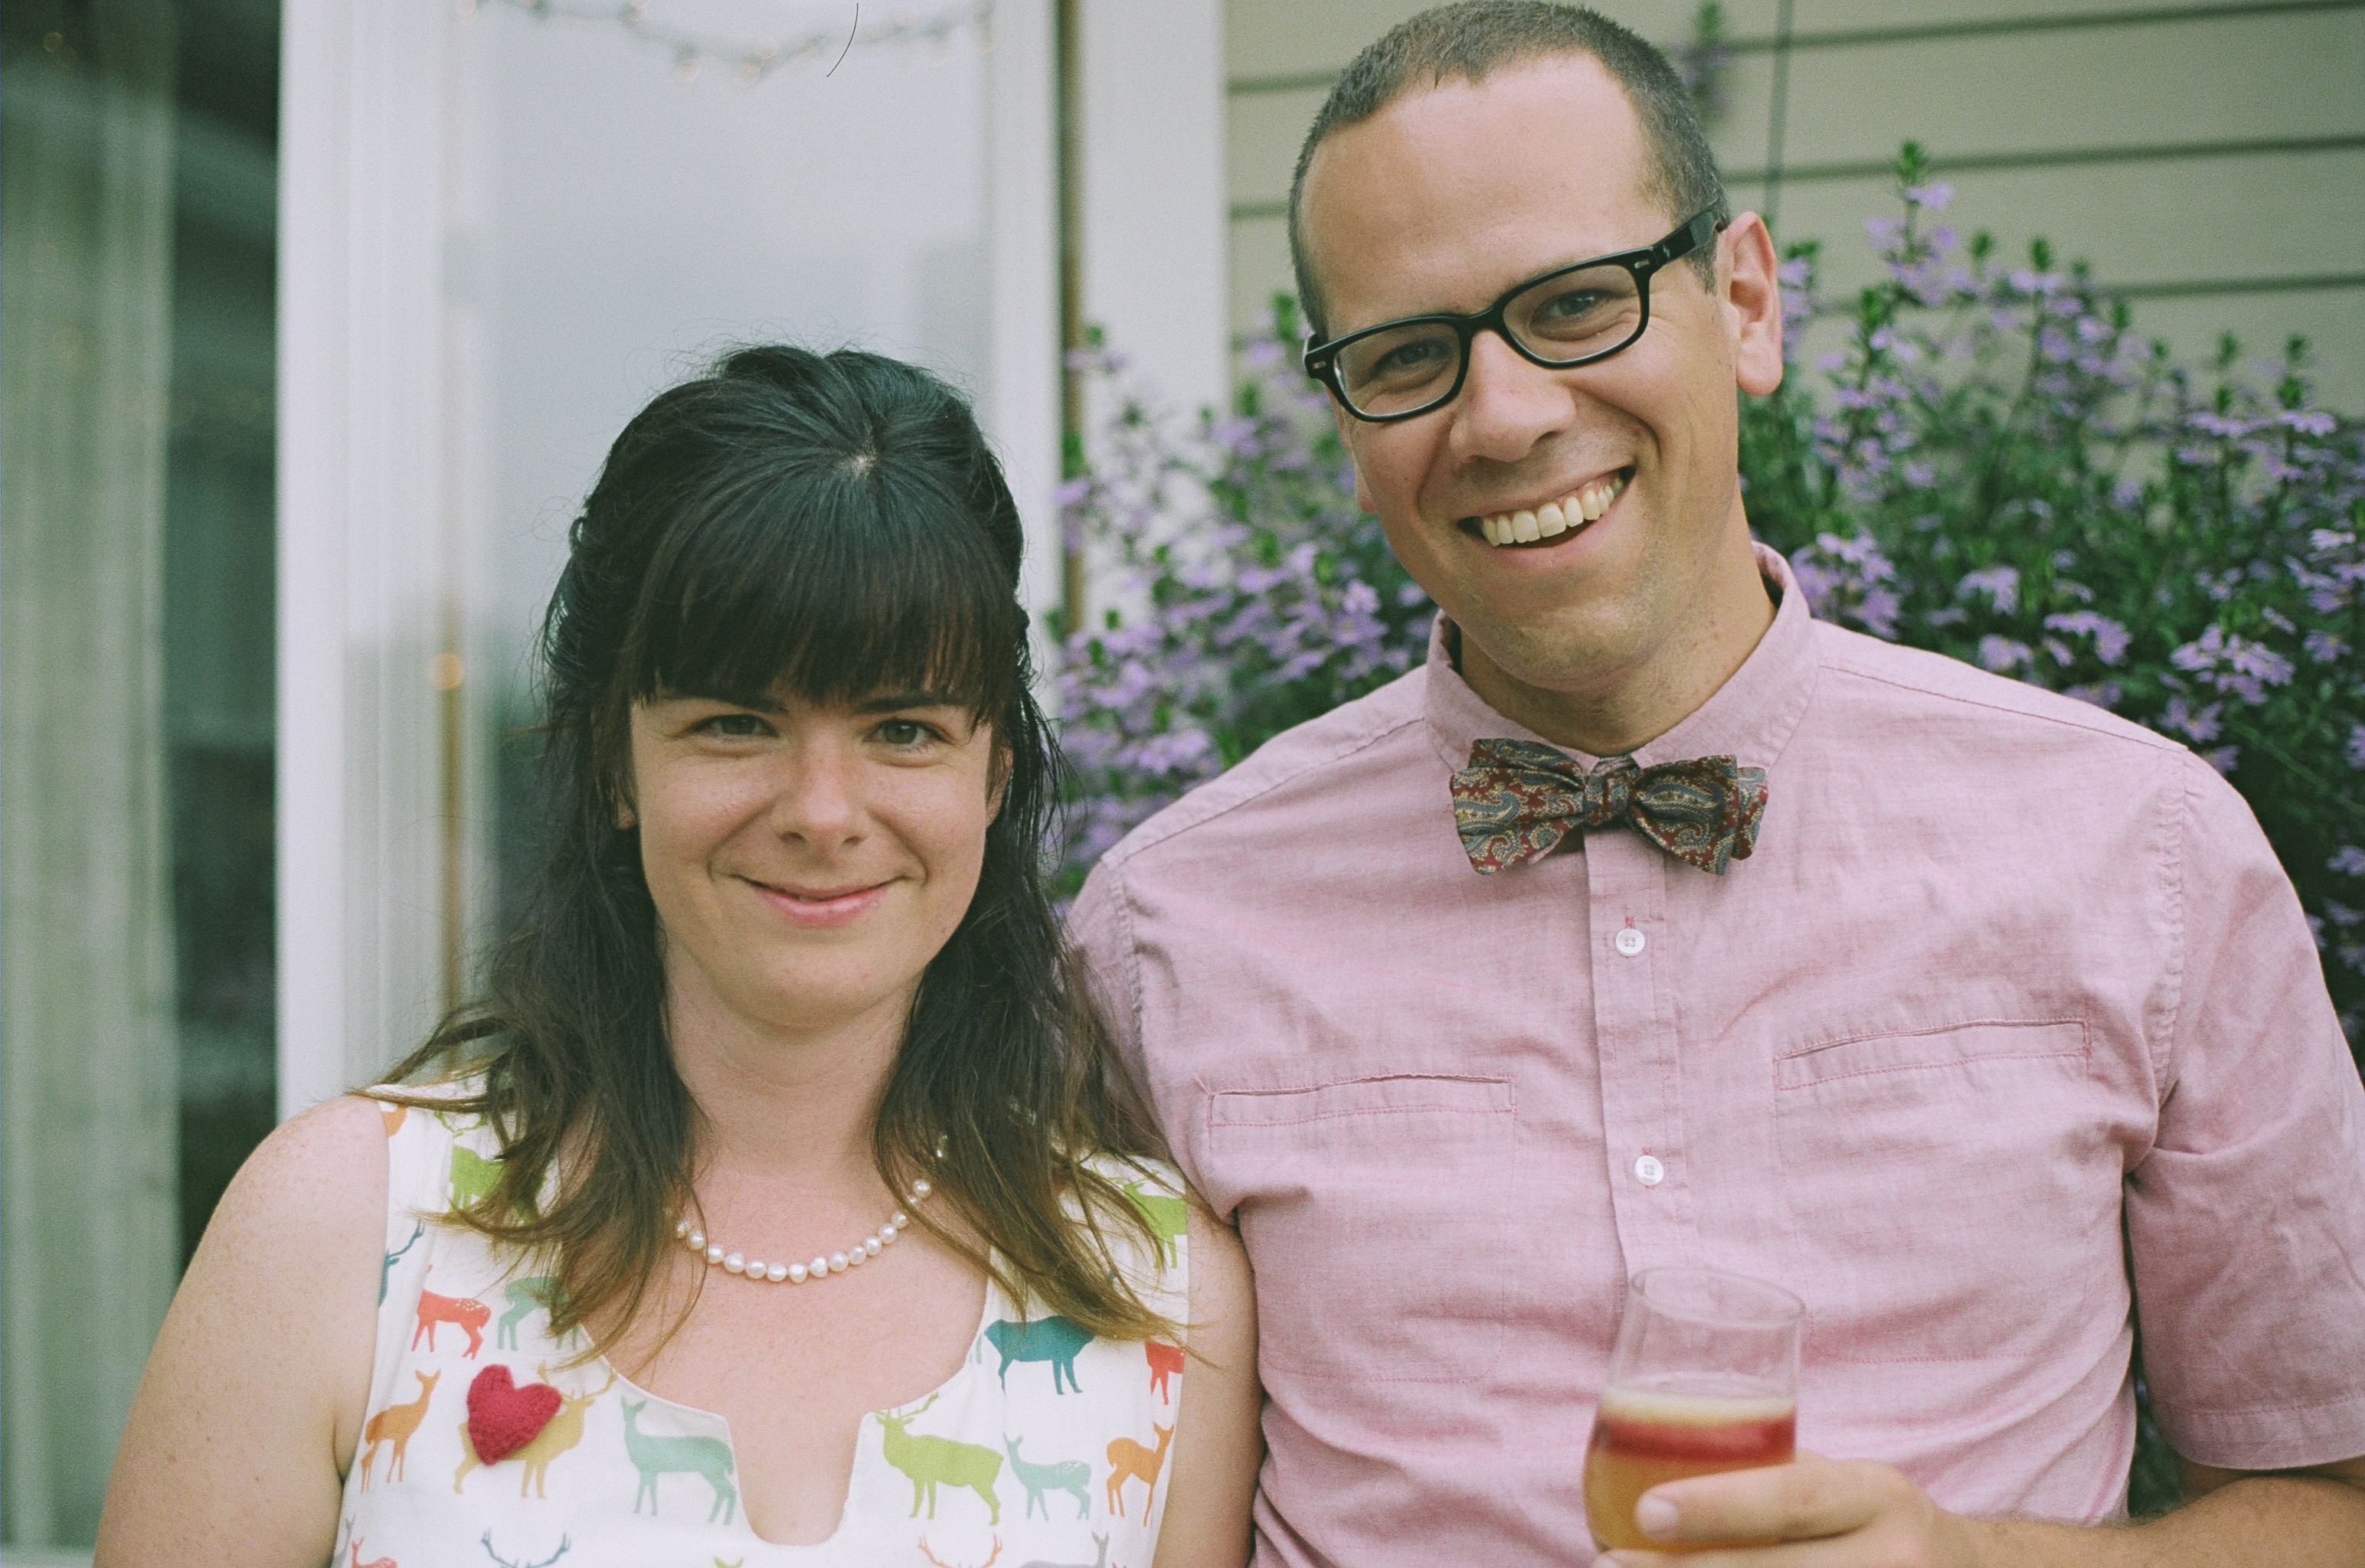 Pro lab scan (Noritsu)
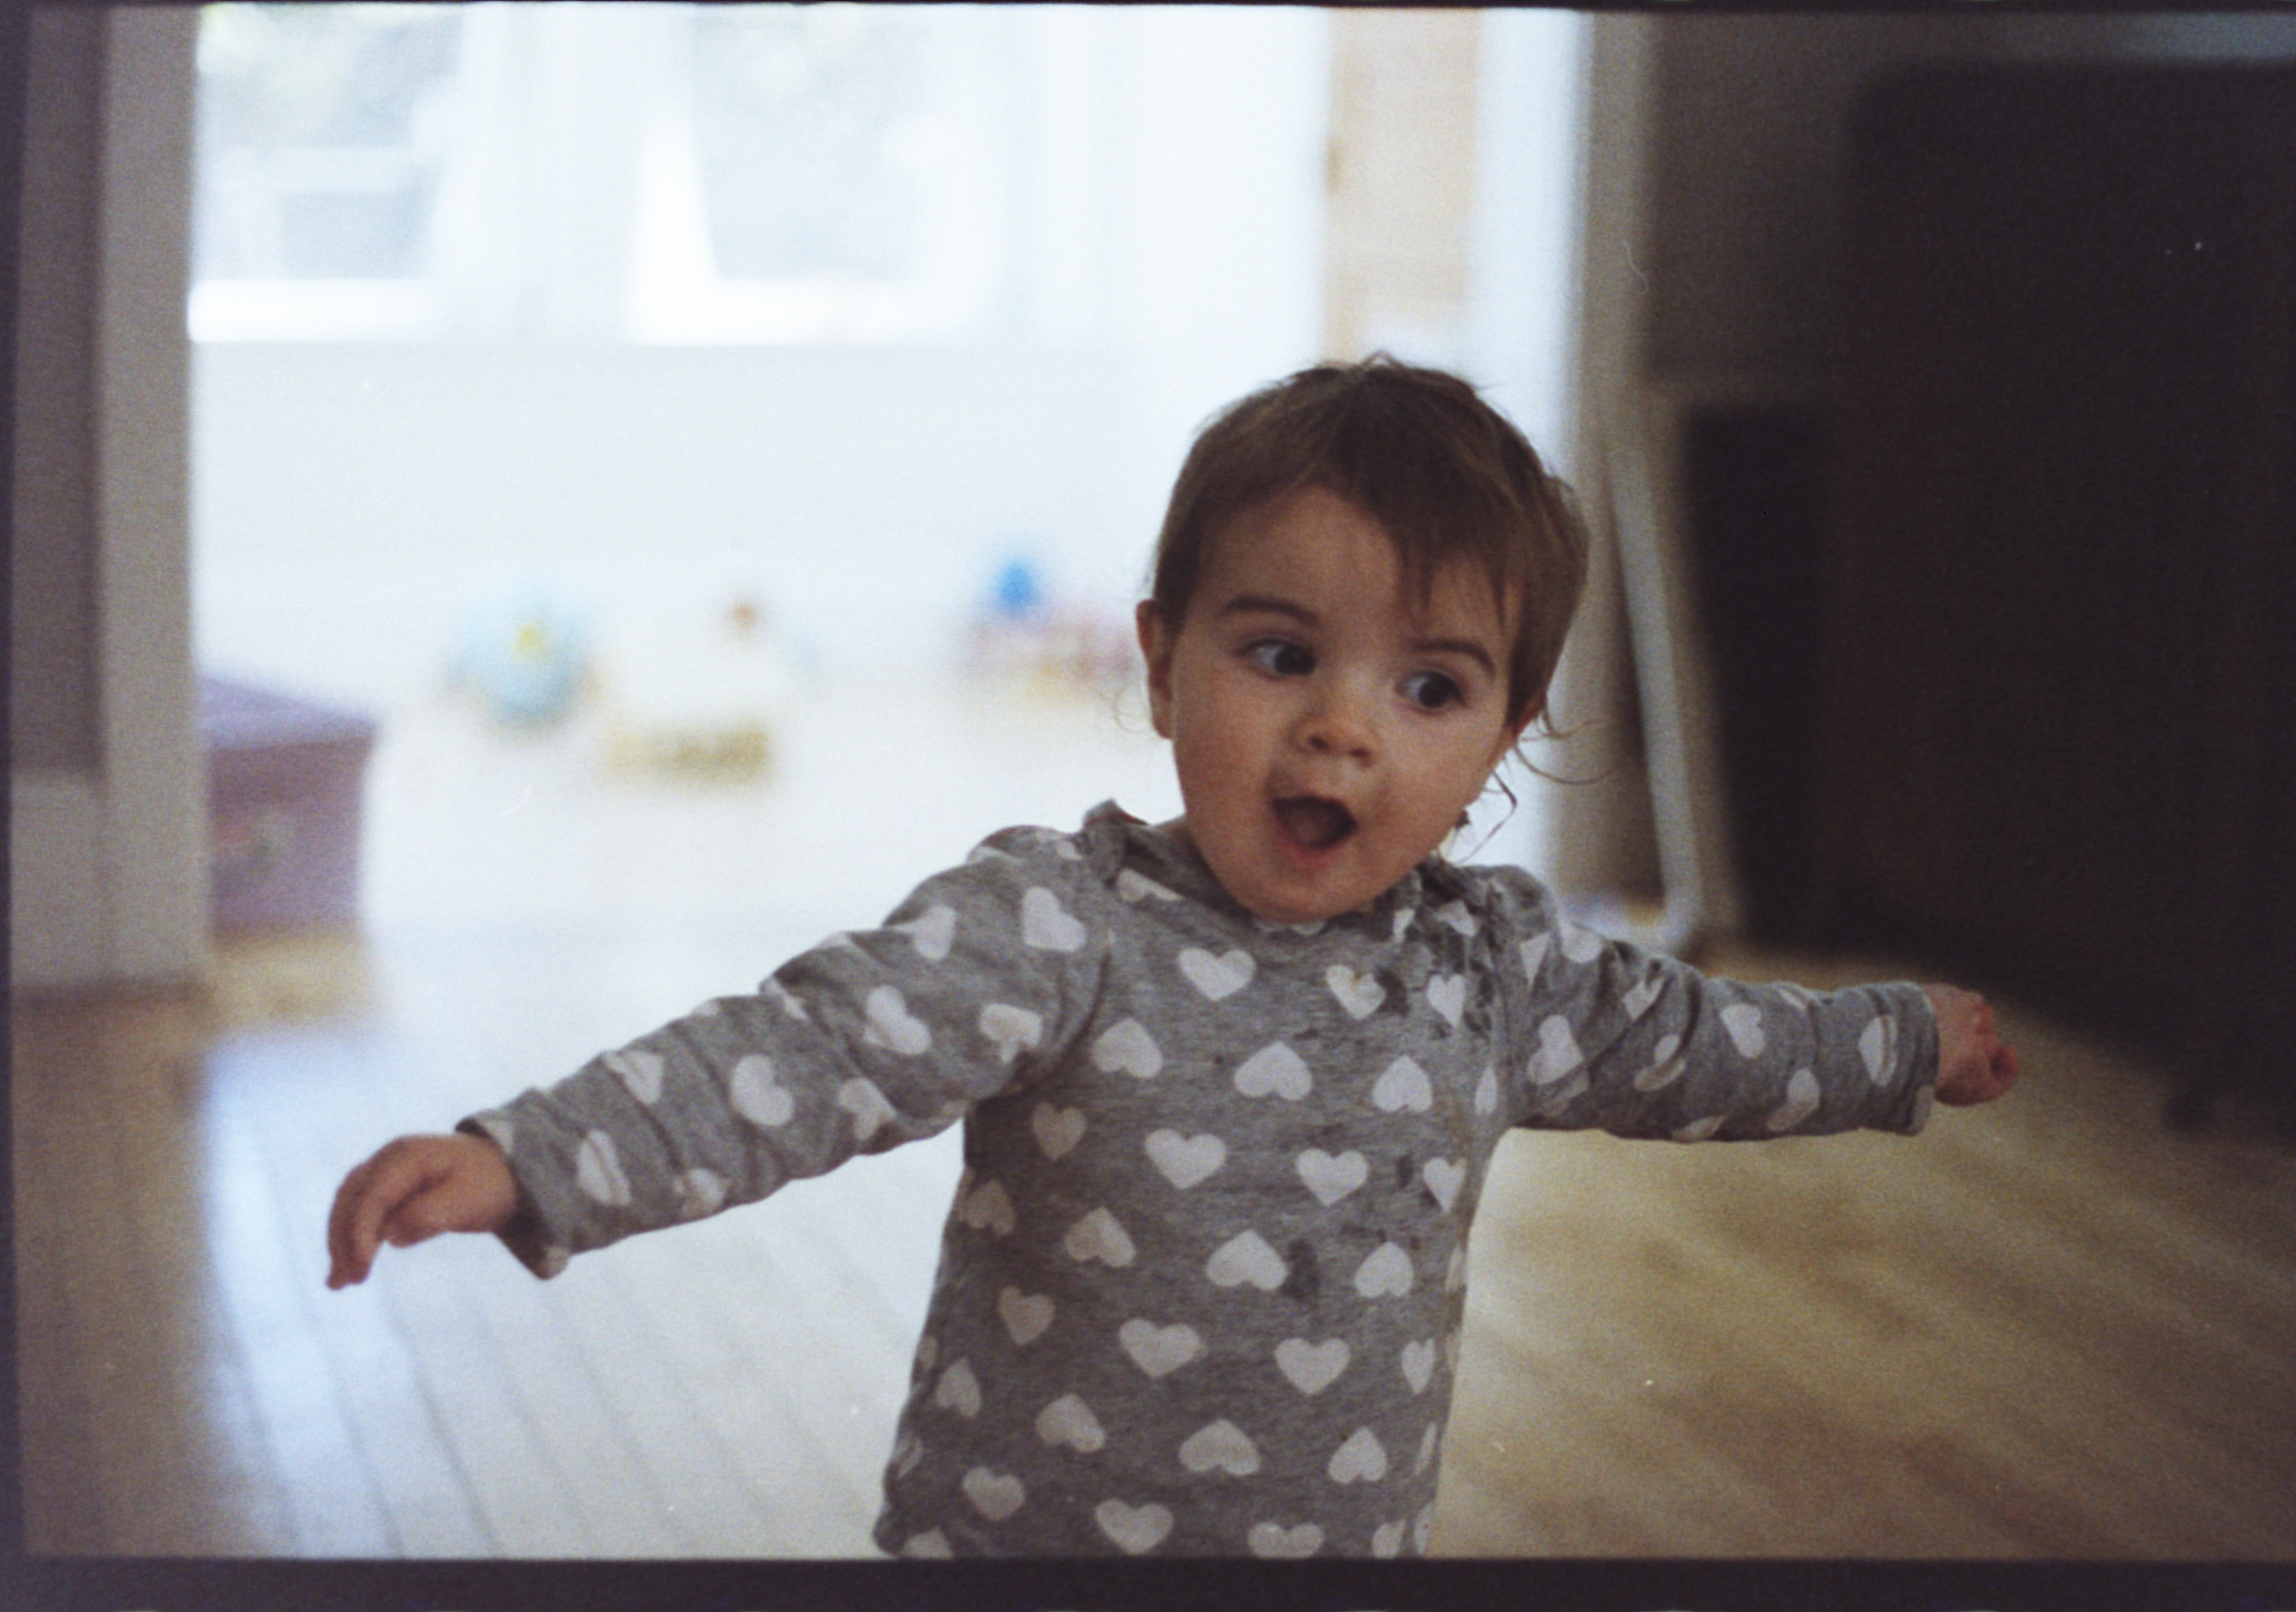
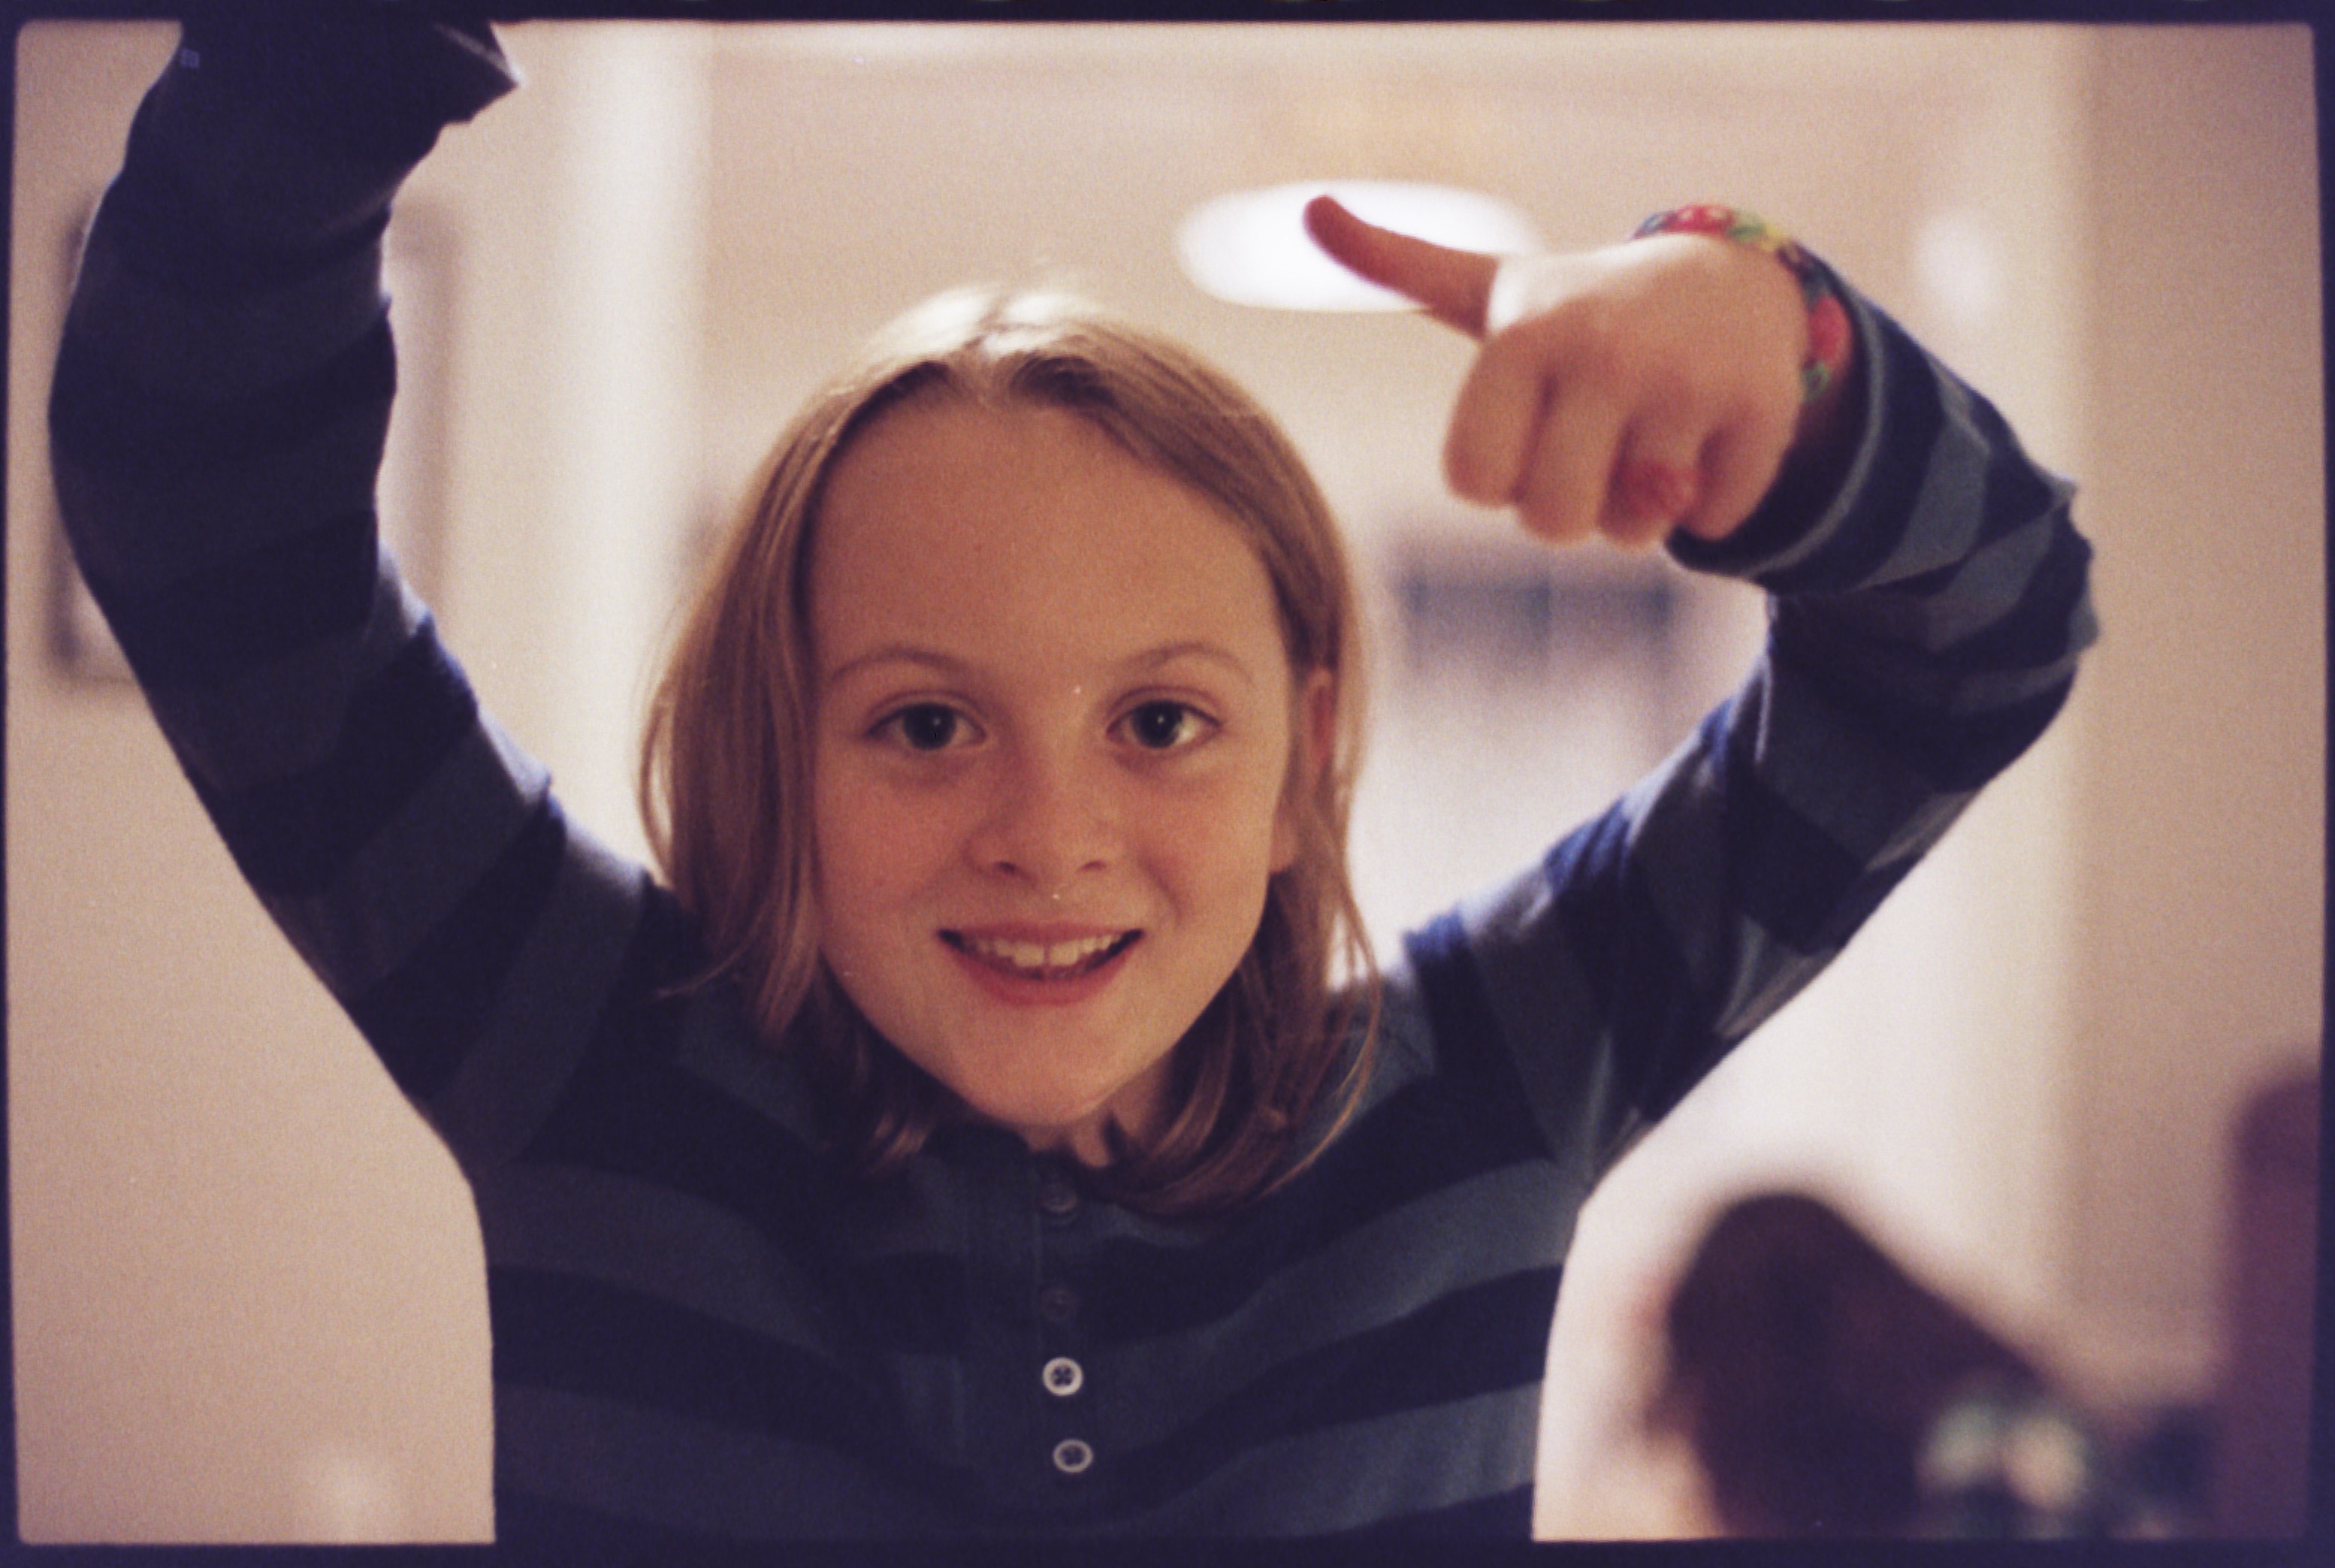 FilmLab capture
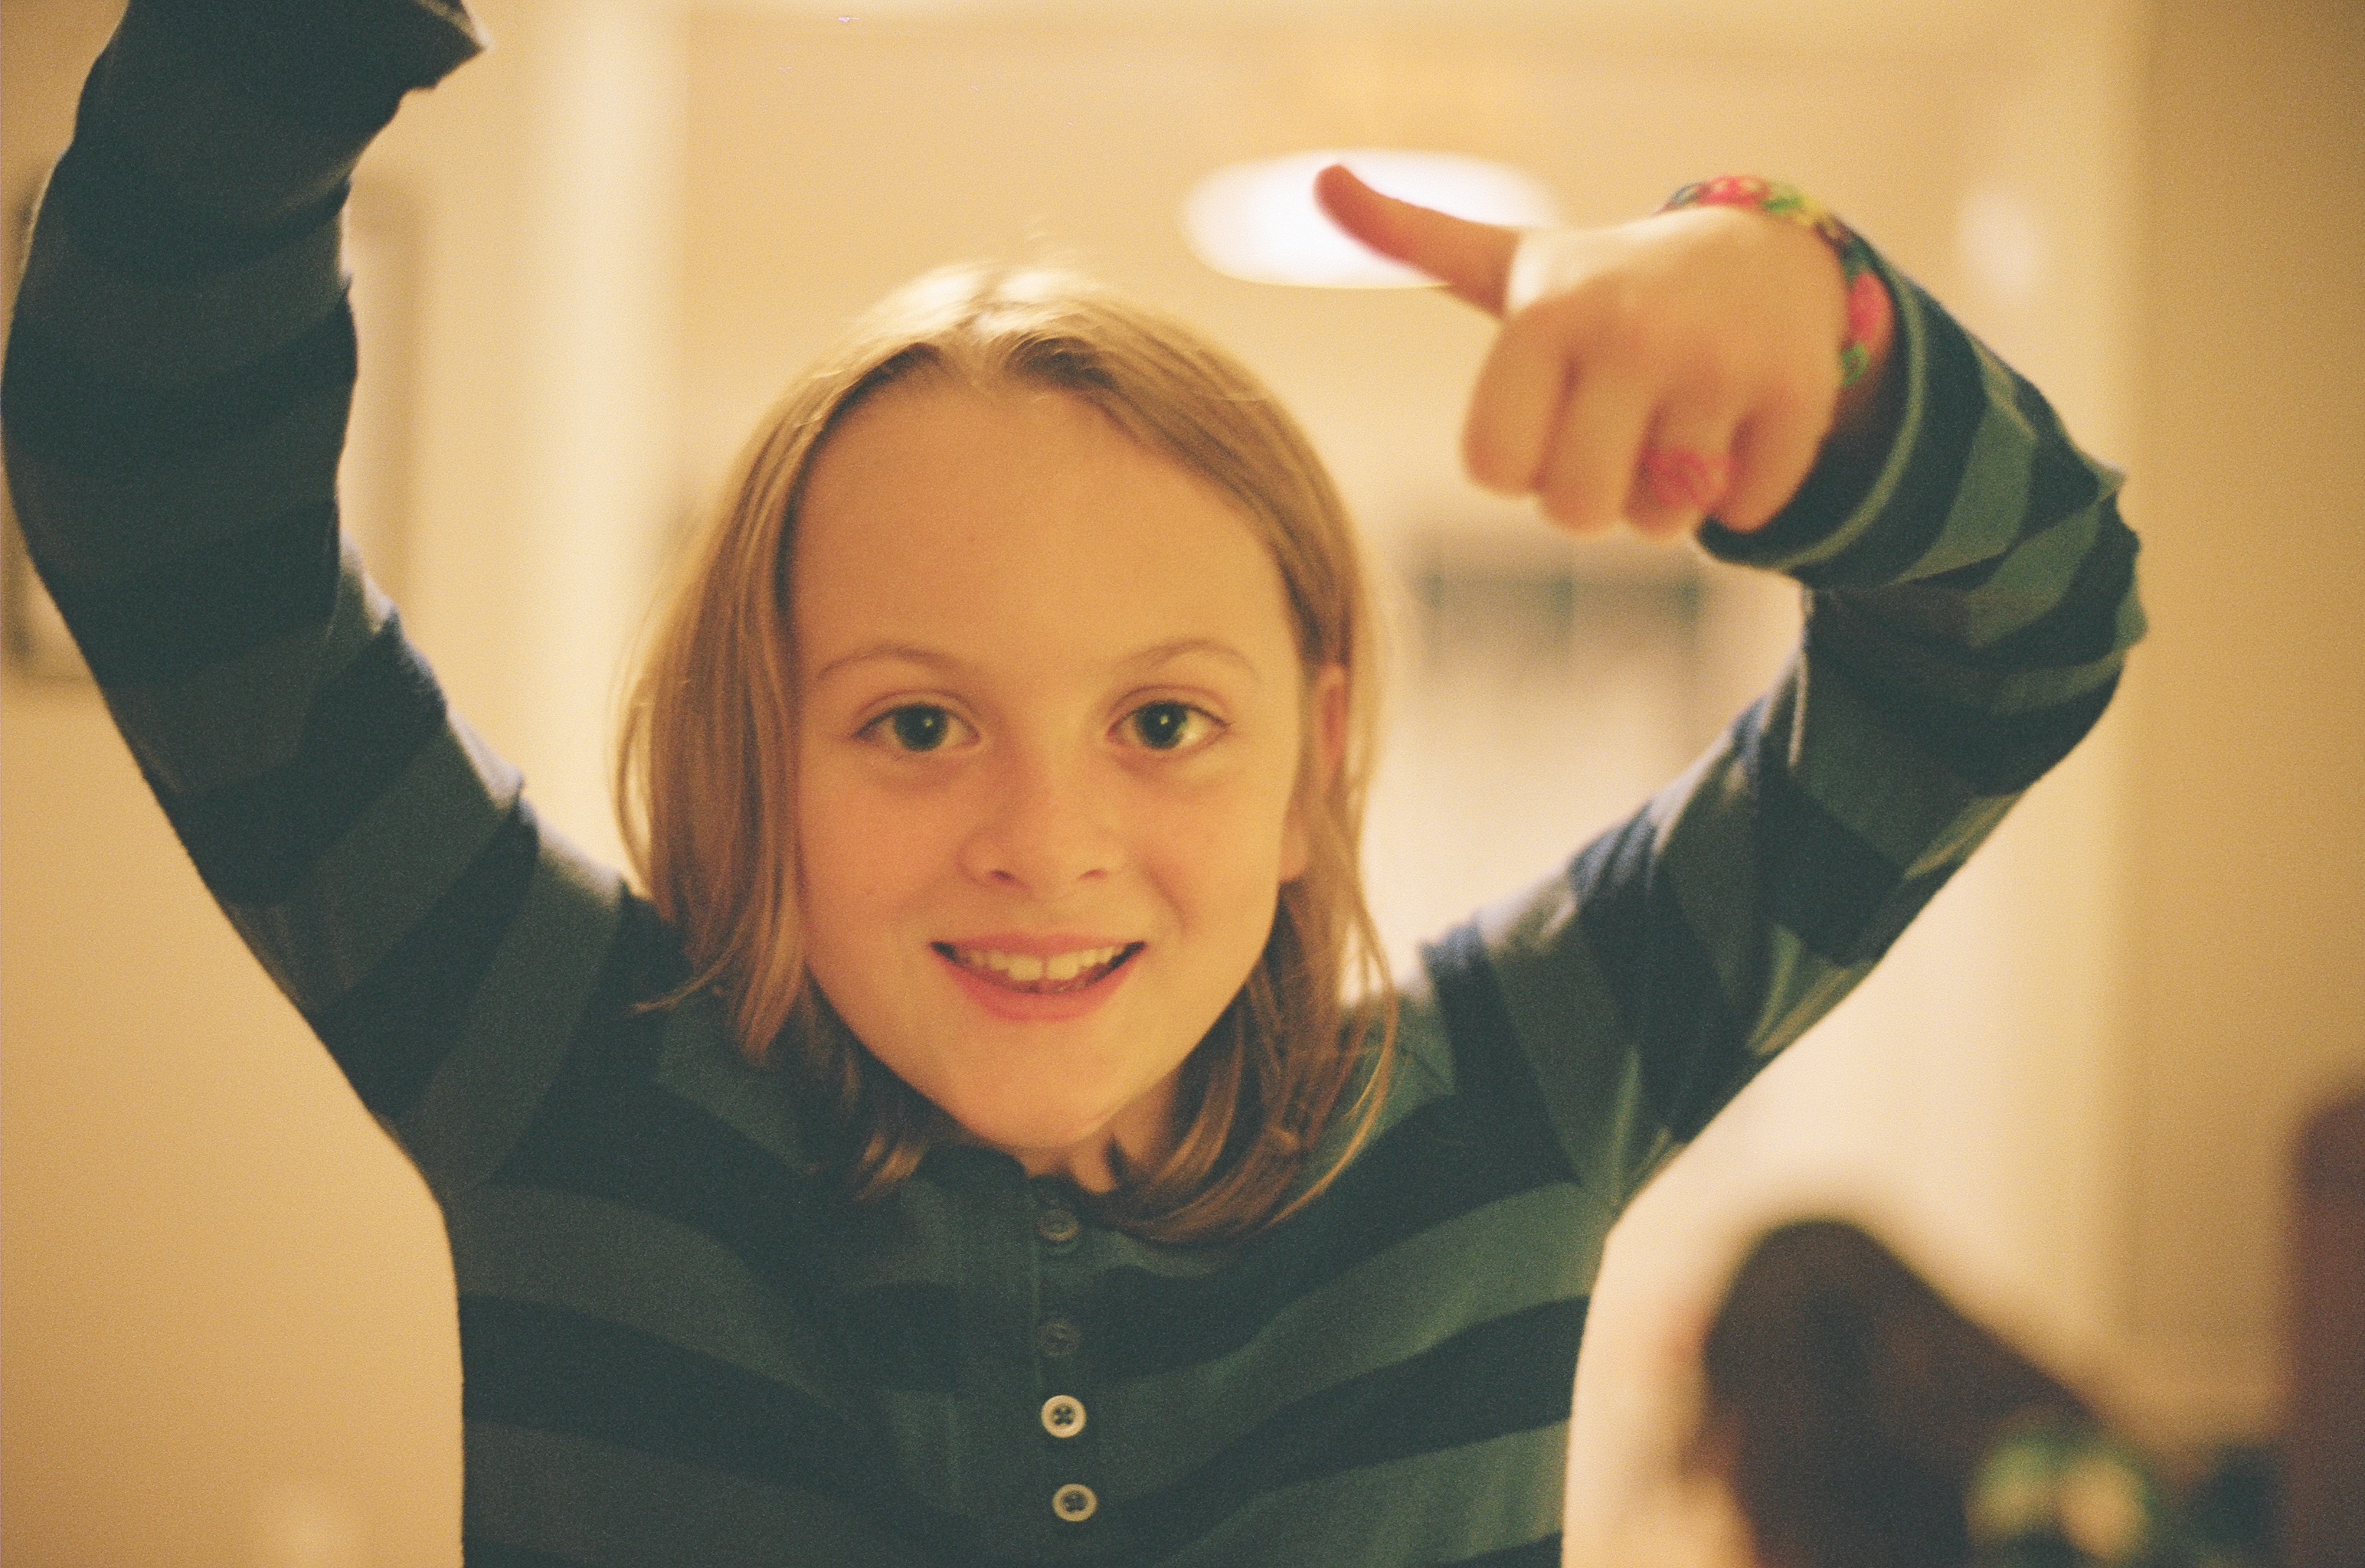 Pro lab scan (Noritsu)
 FilmLab capture
 Pro lab scan (Noritsu)
 FilmLab capture
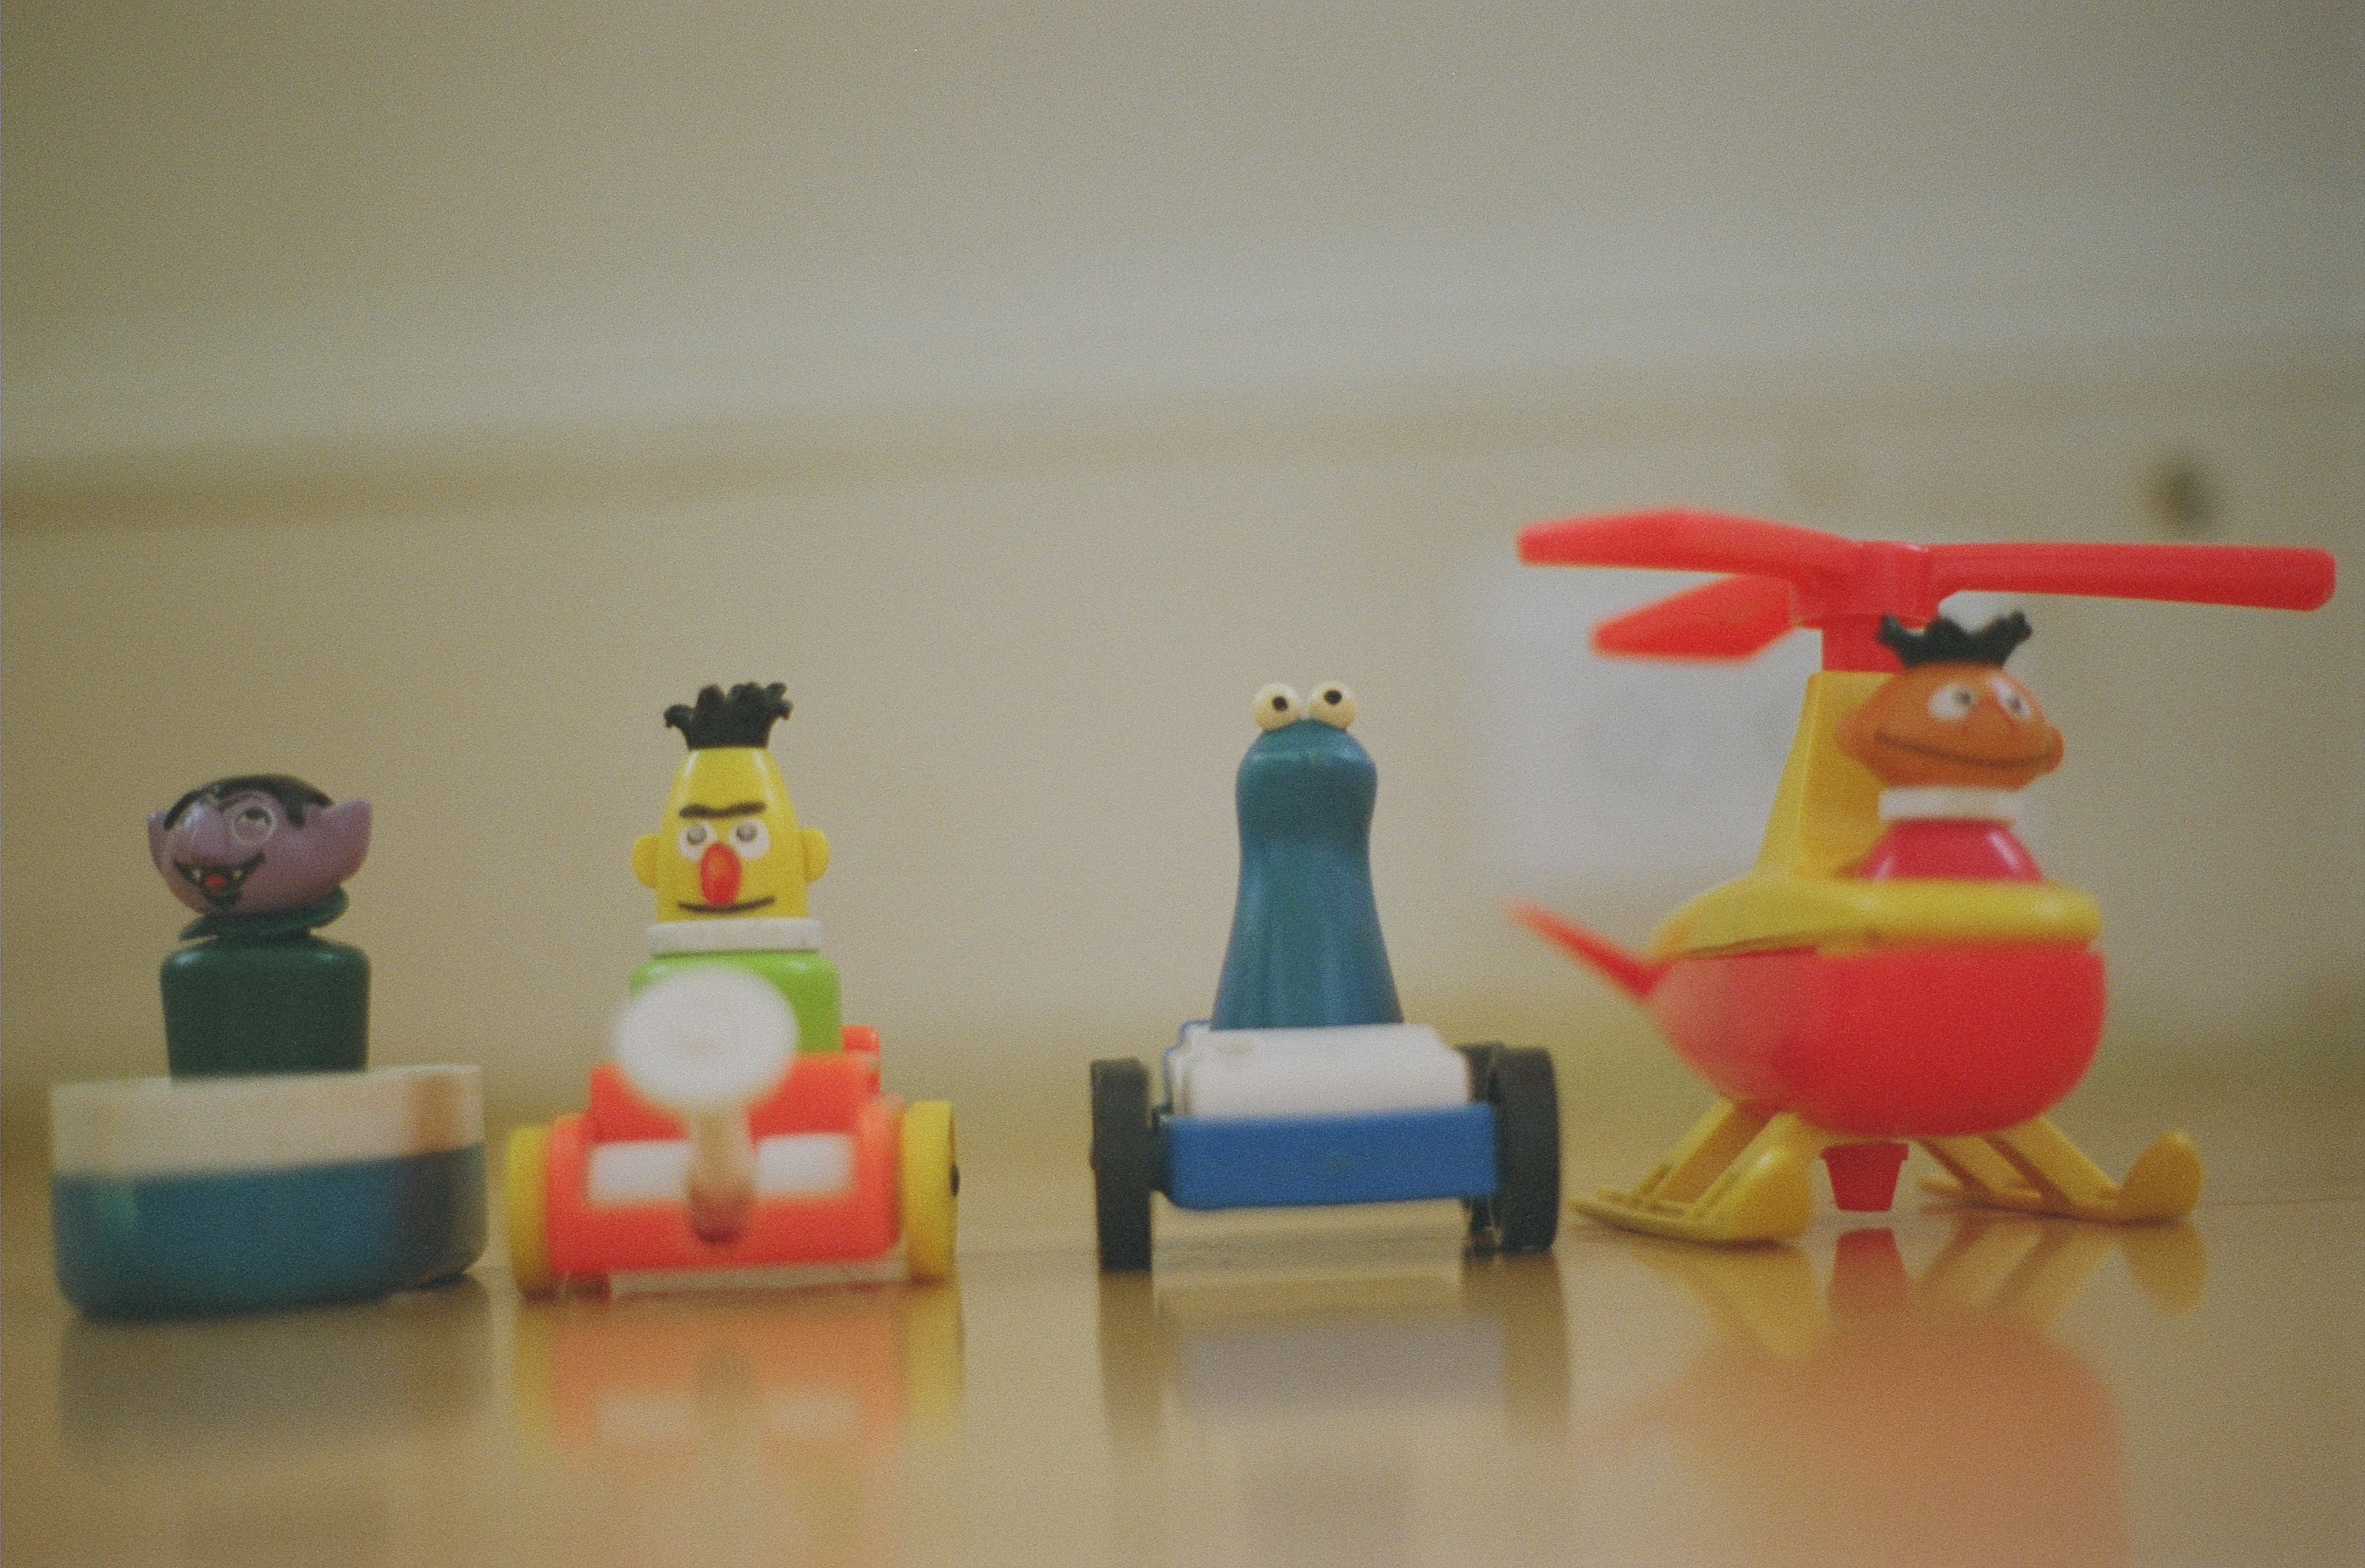 Pro lab scan (Noritsu)
 FilmLab capture
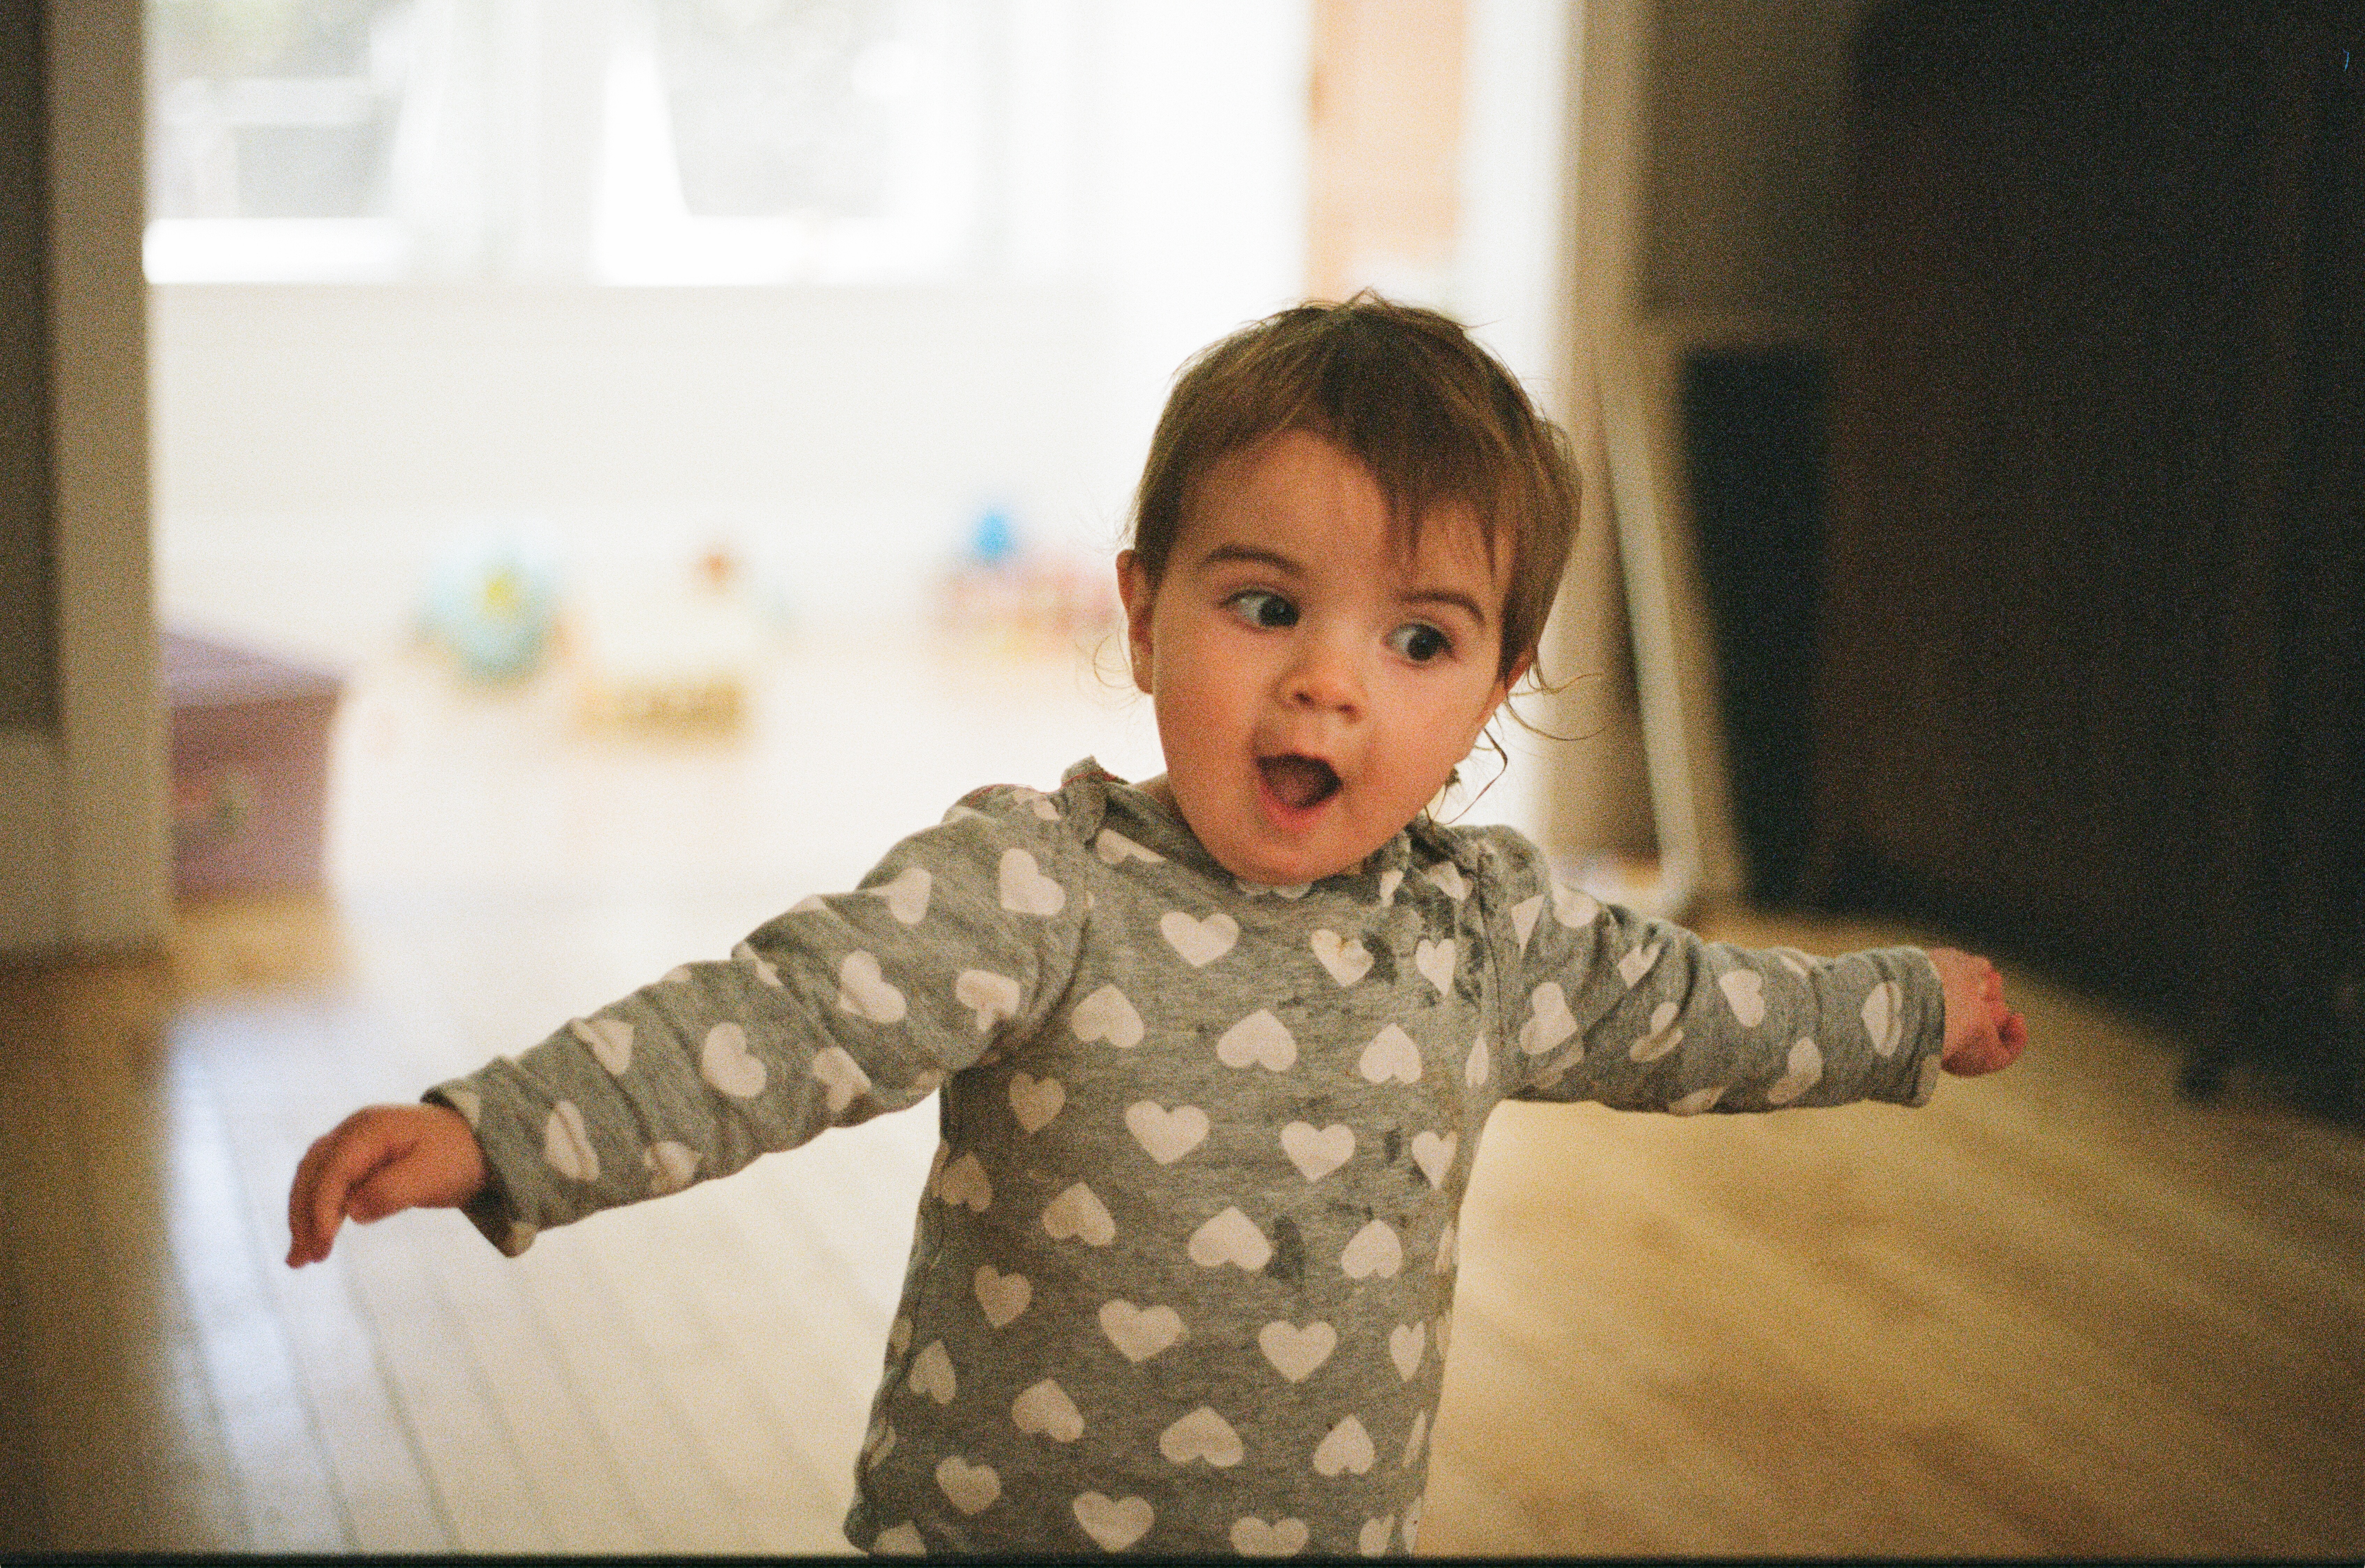 Pro lab scan (Noritsu)
The images above are all 35mm. The output files from FilmLab are about 3000×2000, or 6 megapixel. They’re not very sharp, and could probably be downsized to 2-4 megapixels without really losing any information. I’m going to keep the 6-megapixel output size for 35mm film for now, and hopefully increase the sharpness and decrease the noise (a lot of the lack of sharpness is actually digital noise from the small image sensor in my iPhone causing a loss of detail).
Compared to the pro lab scans, you can see the reduced detail. The colors are also quite different, and I think there are some good and bad points about FilmLab’s colors compared to the Noritsu scanner. FilmLab colors are a little more true-to-life, in my opinion, although both show some color casts. That first photo was taken indoors next to an open window with daylight coming in, and the wall in the background is gray. The Noritsu has a significant yellow-green cast, whereas to my eye the FilmLab image is a little magenta.
One positive thing FilmLab has going for it is that it captures the entire frame. Looking at the side-by-side comparisons, you can see that the lab scans have been cropped a bit. That makes FilmLab useful as a proofing tool: what you see is what you get.
 FilmLab capture
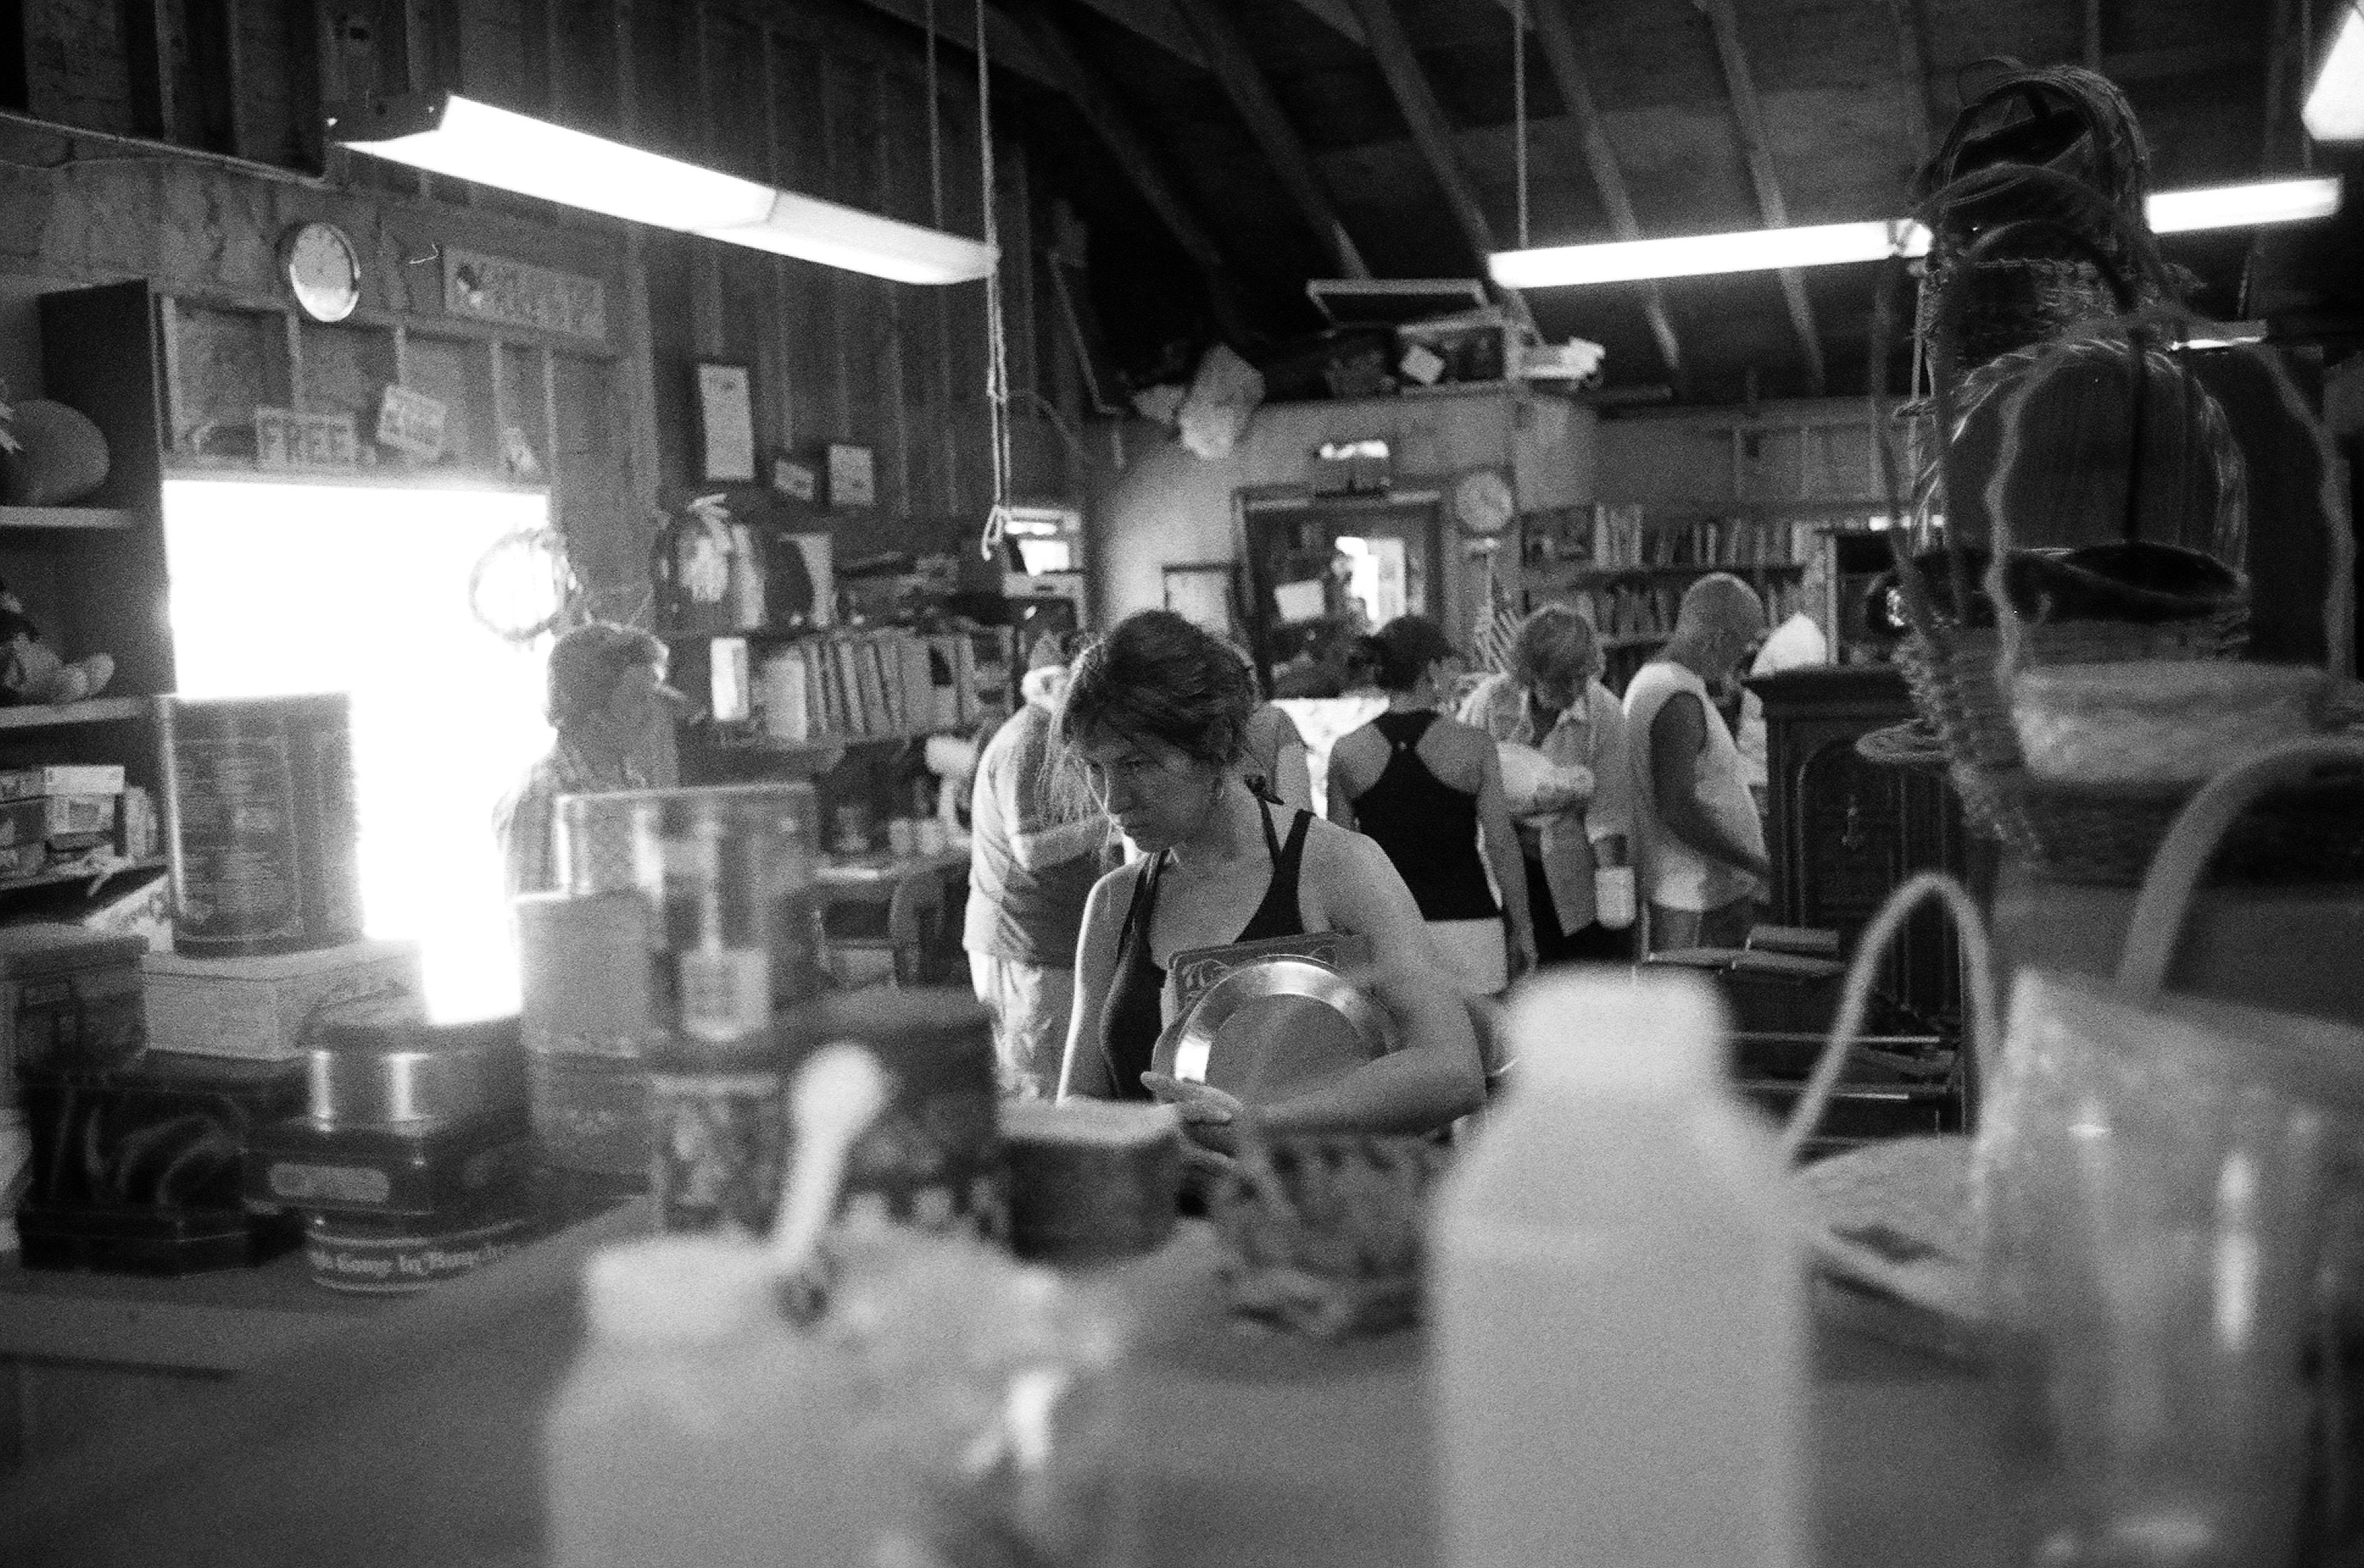 Pro lab scan (Unknown scanner)
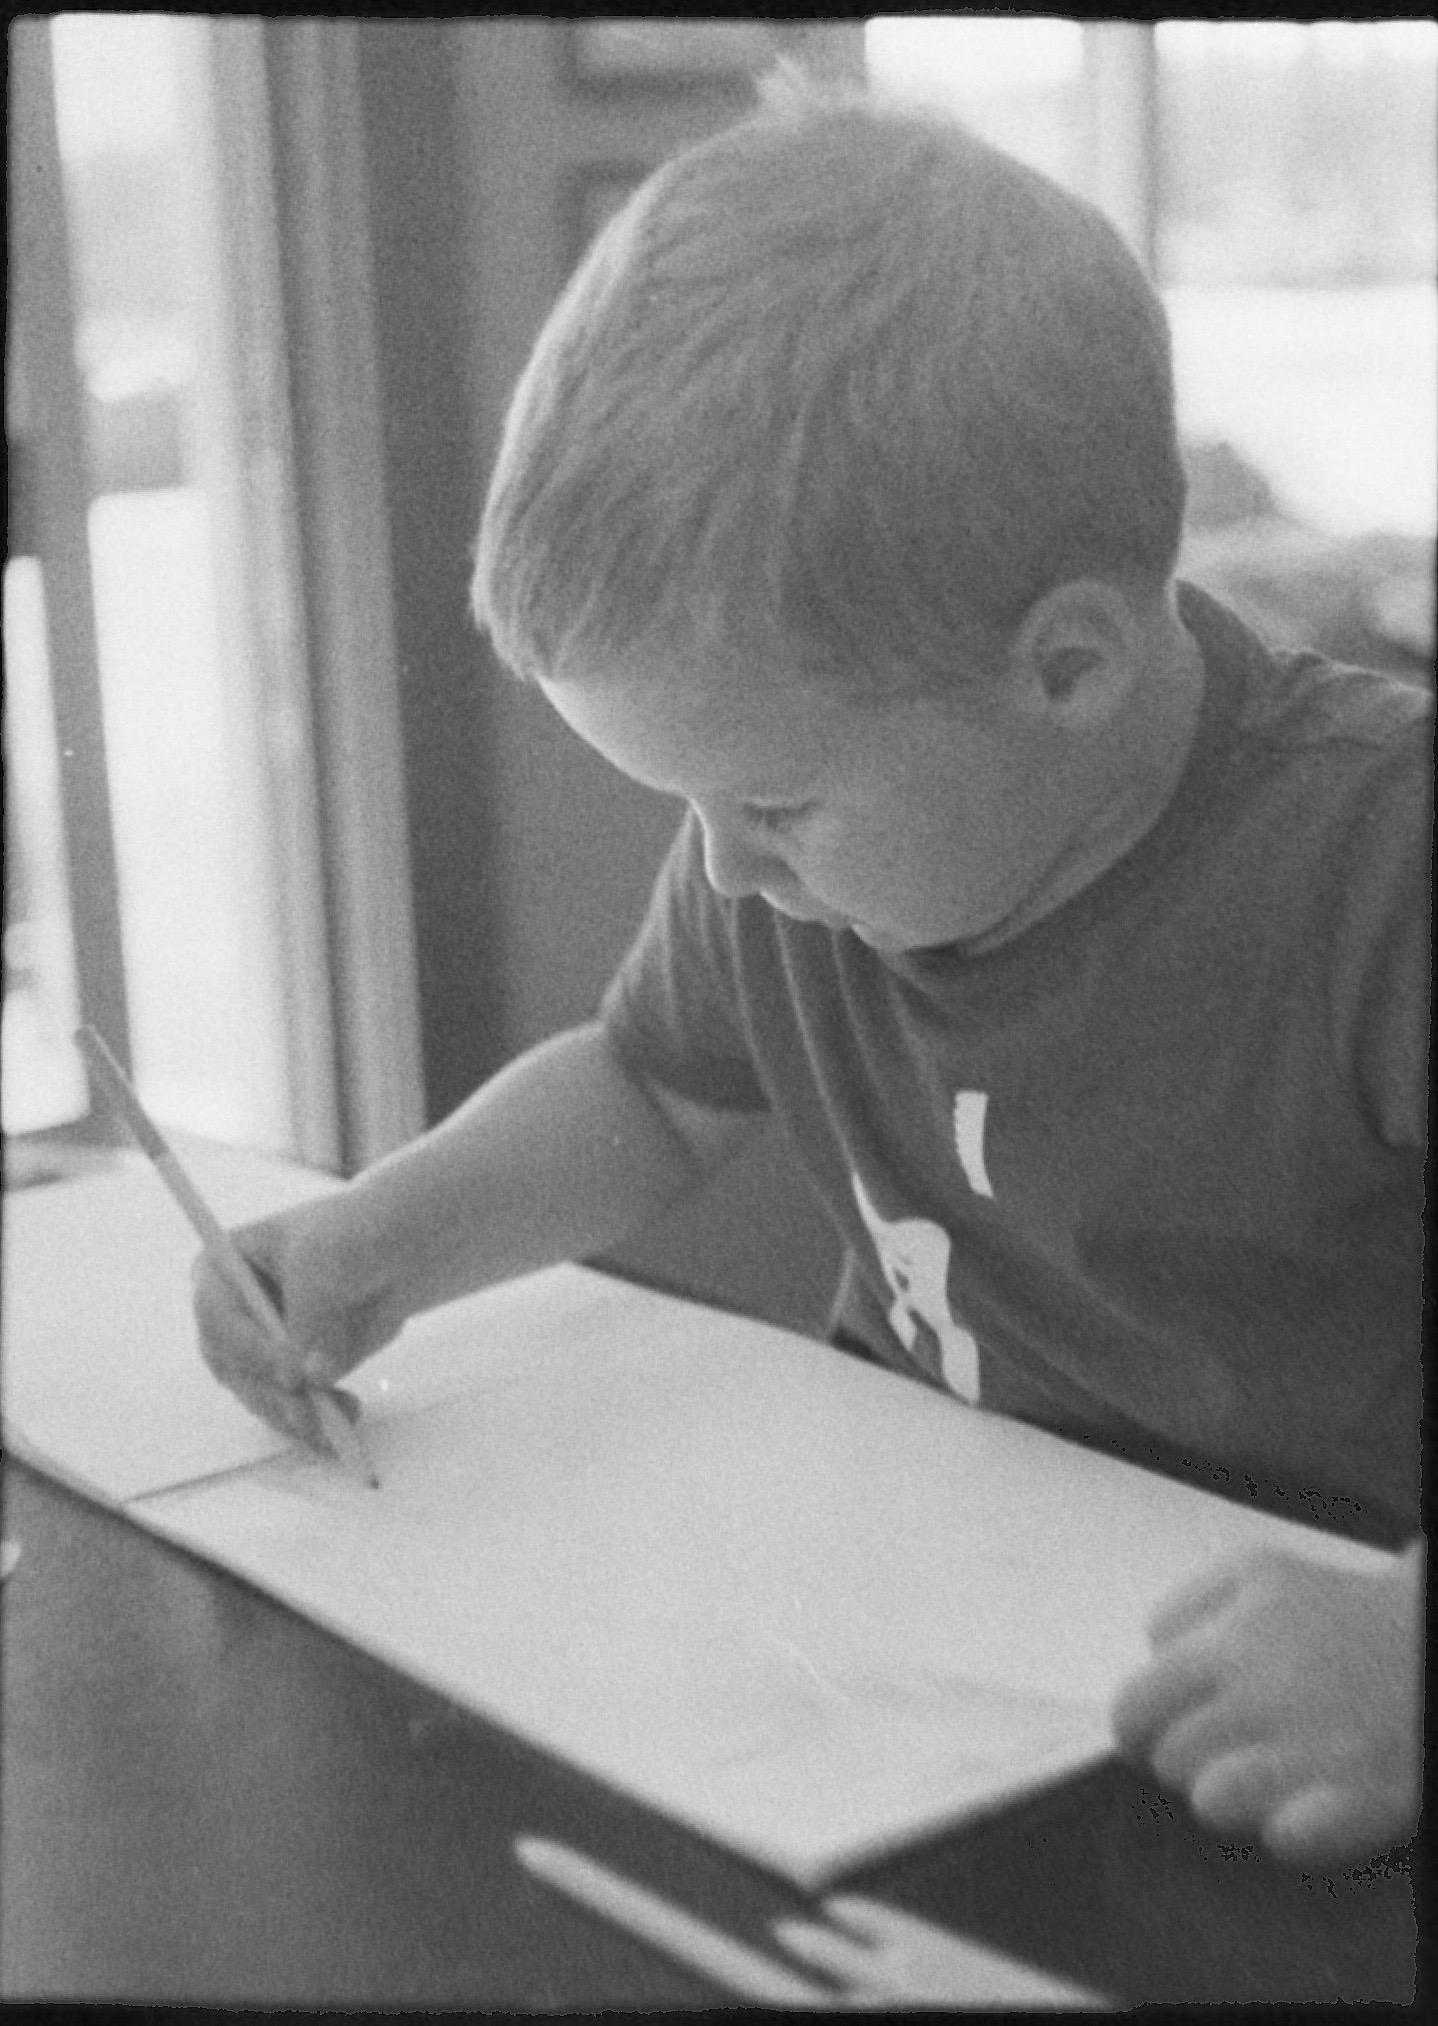
All the color scans above were from film I sent into pro labs, and where I paid extra for what are typically called “medium” resolution scans (6 megapixel, or 3000×2000). The next comparison is a black and white image, and in this case I saved a few bucks by opting for low-res (1500×1000) scans. Compared to the low-res scan, FilmLab is a little more competitive. It’s still noticeably softer, but I suspect the lab scan has had quite a bit of sharpening applied to it. With some additional work, FilmLab might be able to get similar results.
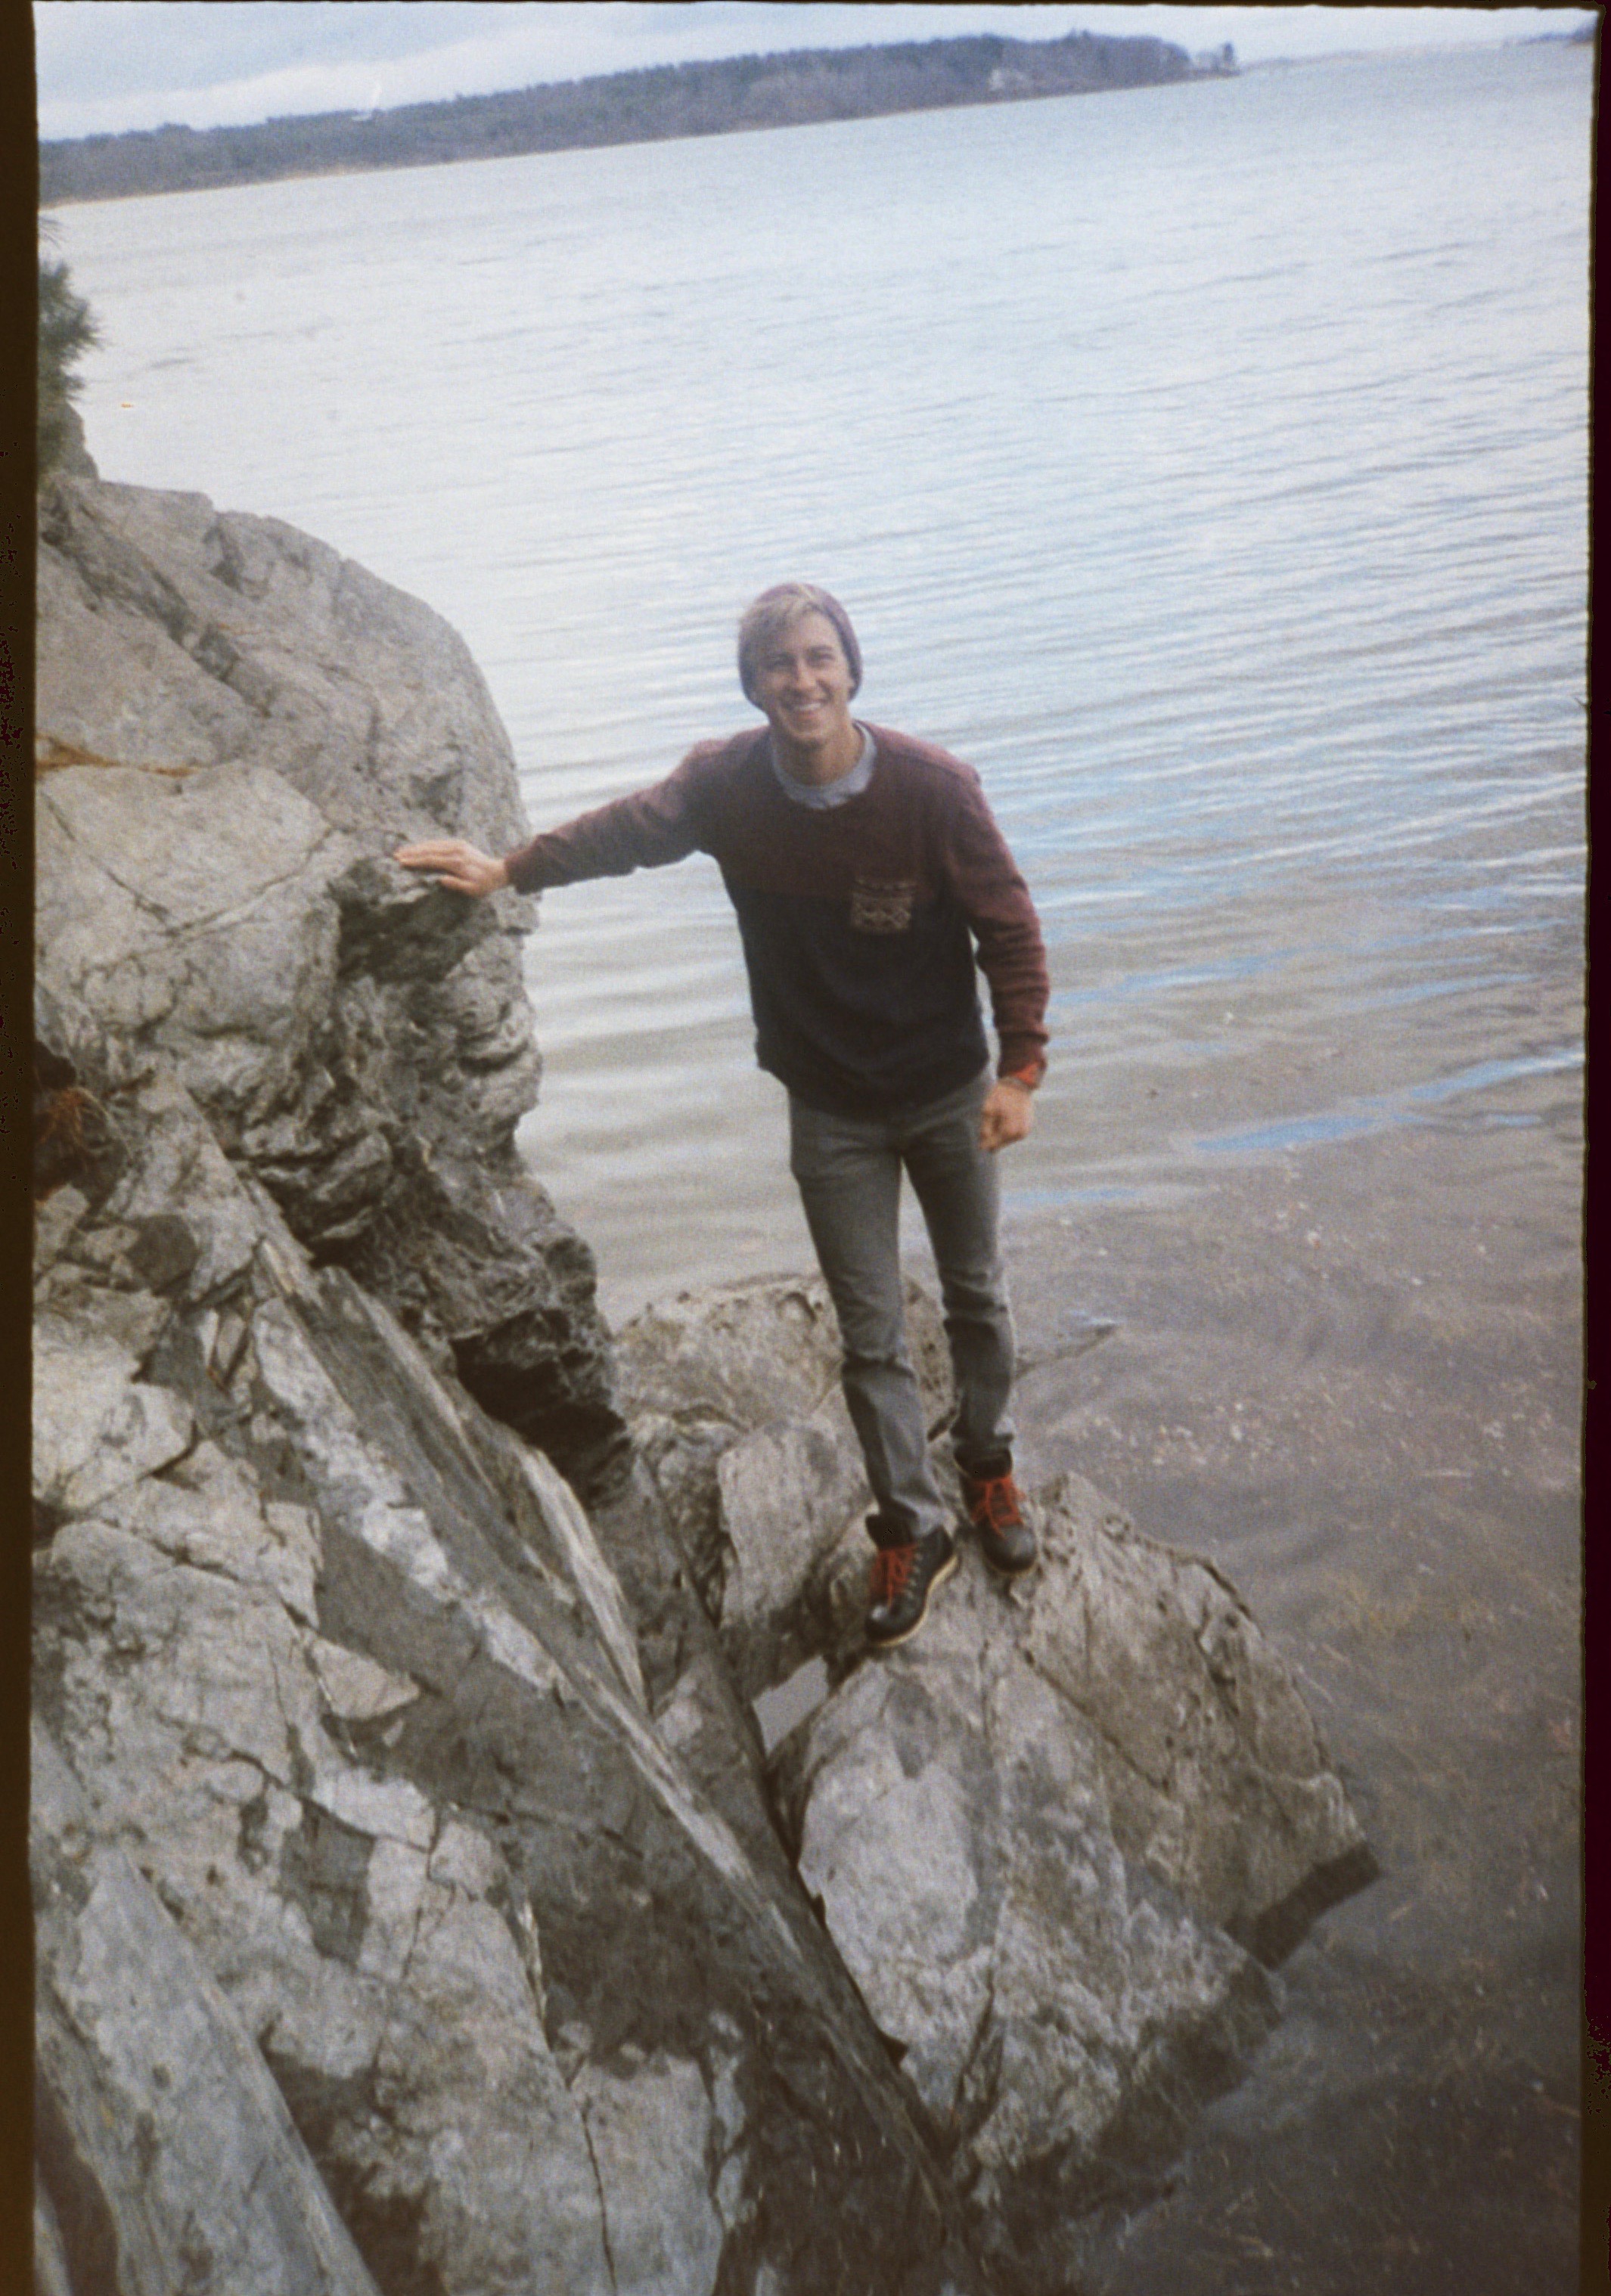
Epson v700 scans
 FilmLab capture
 Epson v700 scan
This first image is a half-frame 35mm black-and-white image (taken with a Olympus Pen F). The smaller the negative, the less information Filmlab is able to collect from a smartphone camera – it’s limited by the minimum focal distance. So this image is only 1500×1000, and it’s starting to get noisy. The v700 fares better.
 FilmLab capture
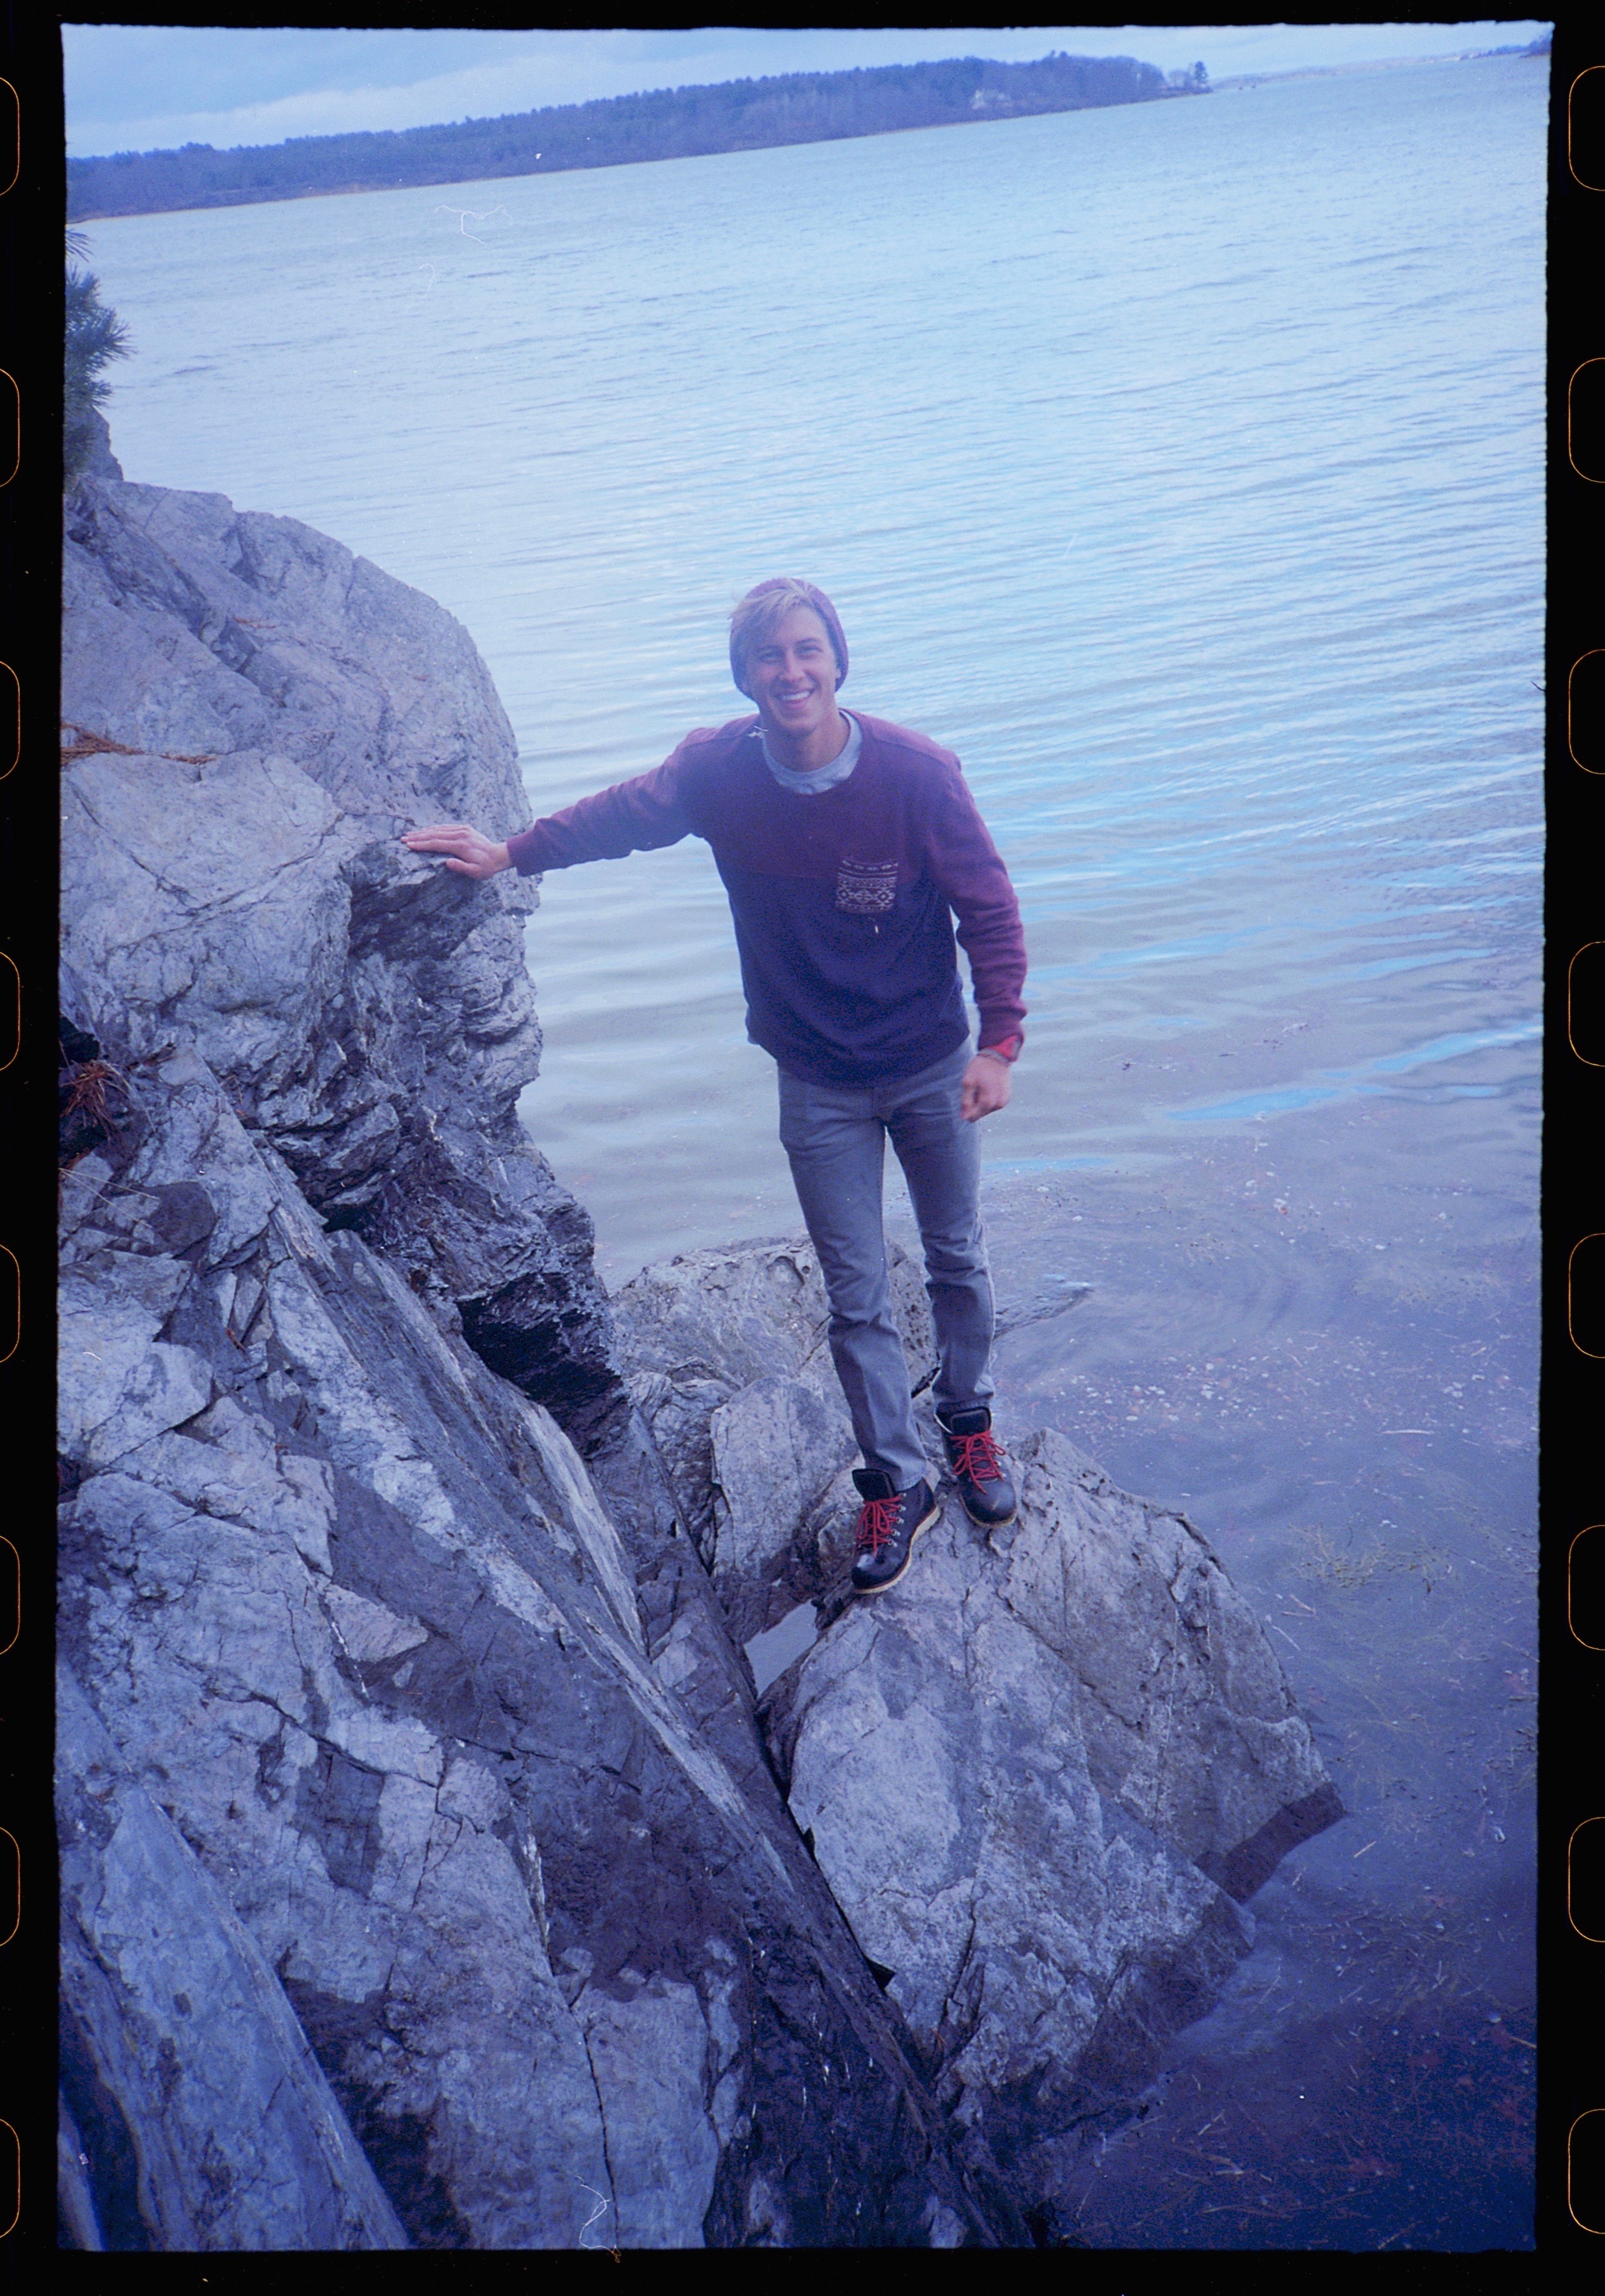 Epson v700 scan
 FilmLab capture, 3171 x 2134.
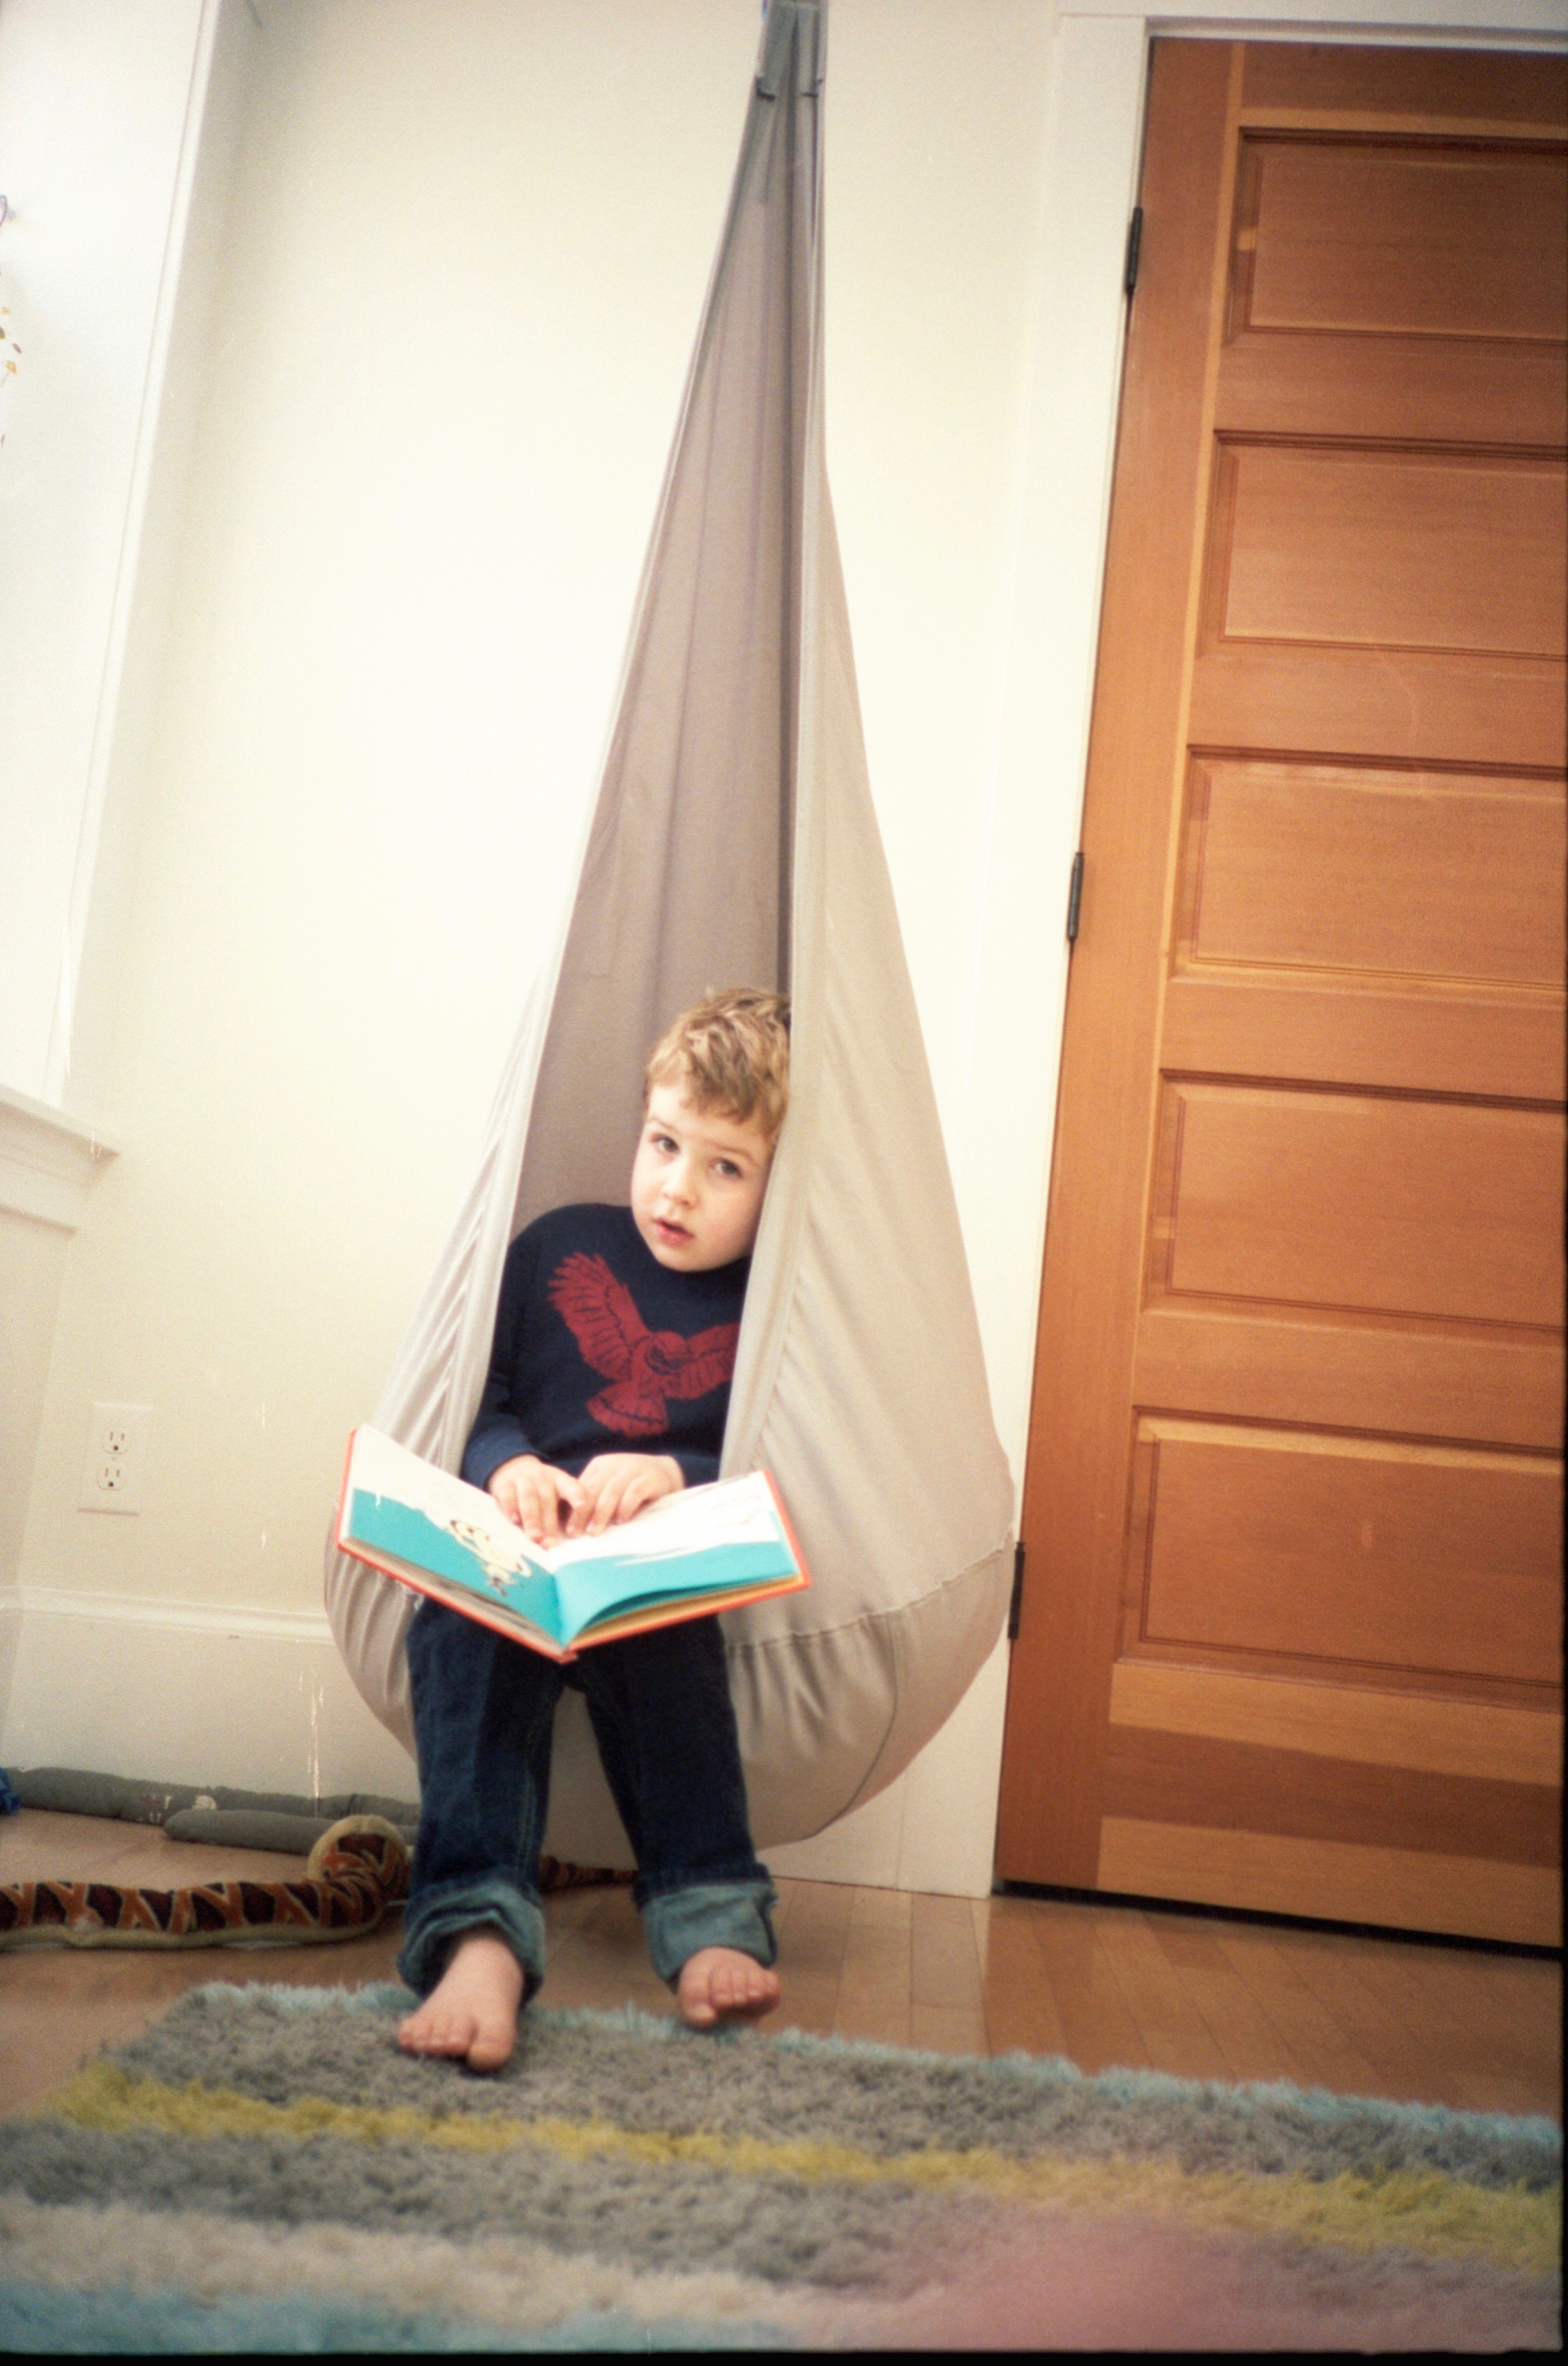 Epson v700 scan
 FilmLab capture
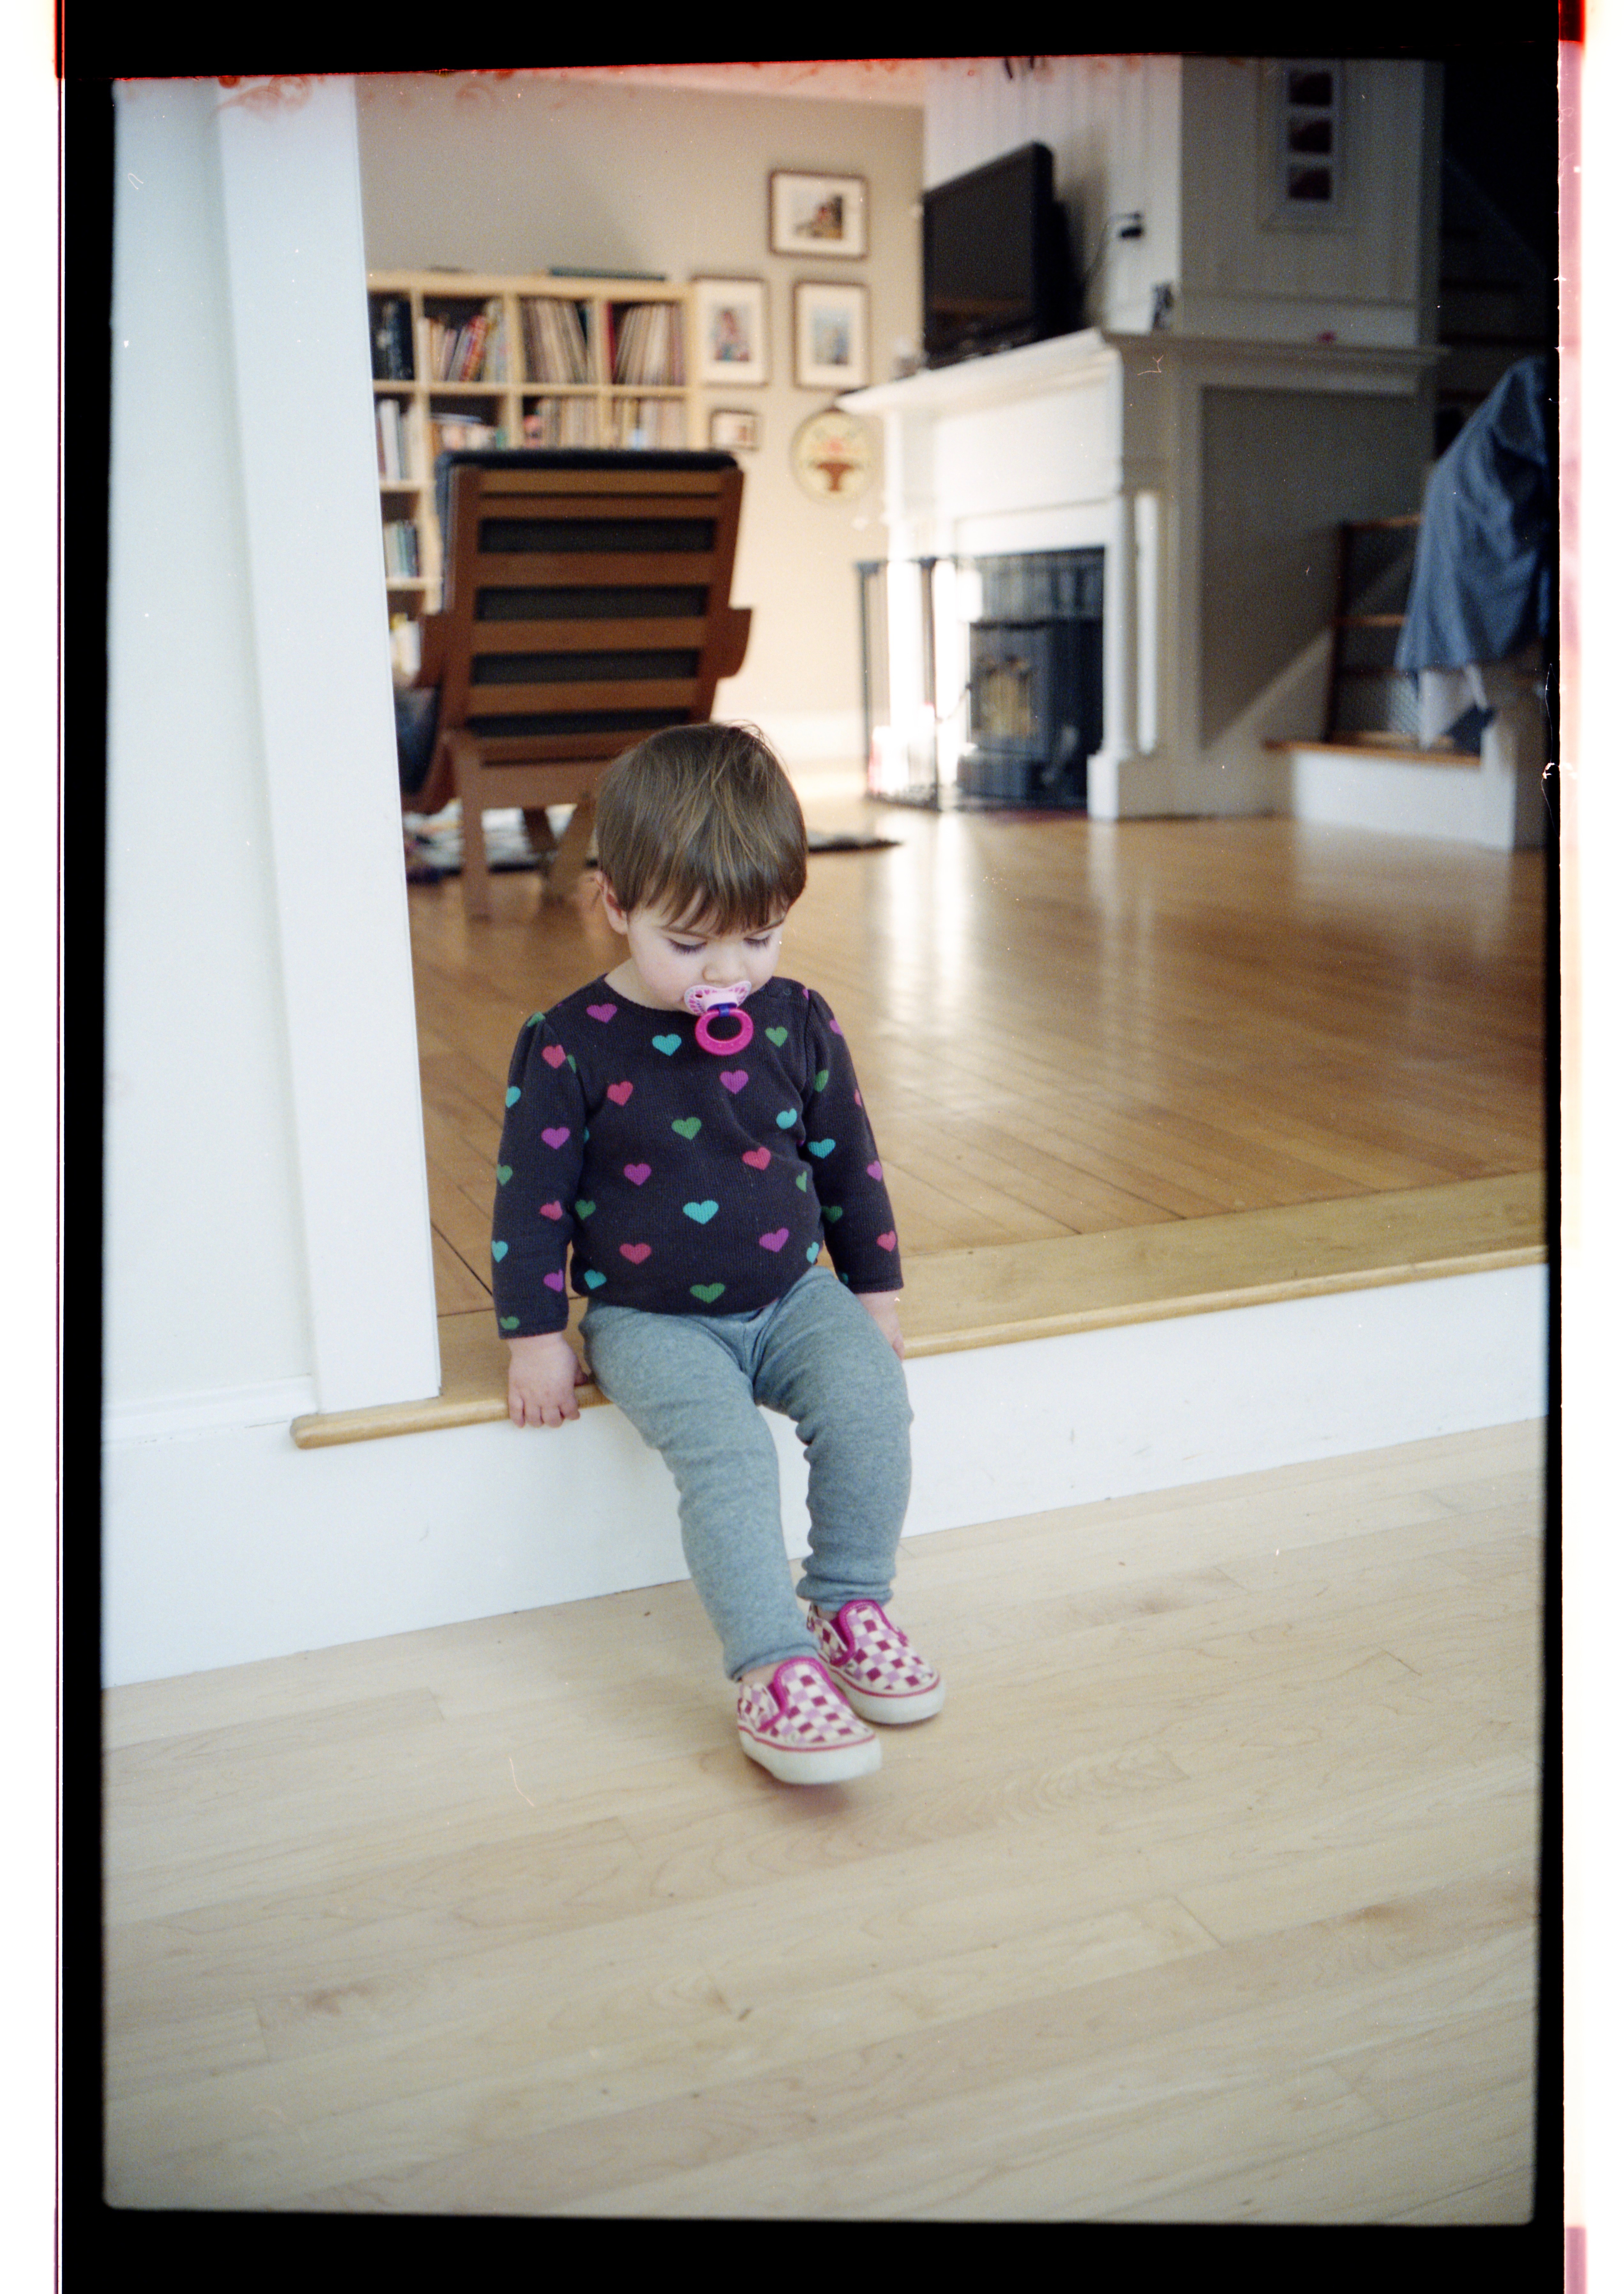 Epson v700 scan
In these last three images, you can see some real differences in color conversion between FilmLab and the v700. In general, FilmLab’s color is less saturated, which sometimes is for the better and sometimes not. The last photo in particular looks much better on the v700. In the first photo, on the other hand, the v700 color balance is way off, giving a strong blue cast.
So that’s the state of FilmLab image quality today. While there’s still a lot of work to do, I’m happy to have made it to this point. One of my goals when I started this project was to be able to make scans with my phone that were good enough to post on Instagram, and for my purposes I’d say FilmLab is pretty much there.
Next time: sample images captured with a digital camera and macro lens and processed in FilmLab.